Onboarding a pay-only contractor on Skuad is a straightforward process managed entirely within the platform, utilizing the Payoneer WFM Pay option to facilitate your payment arrangements.
Step 1:
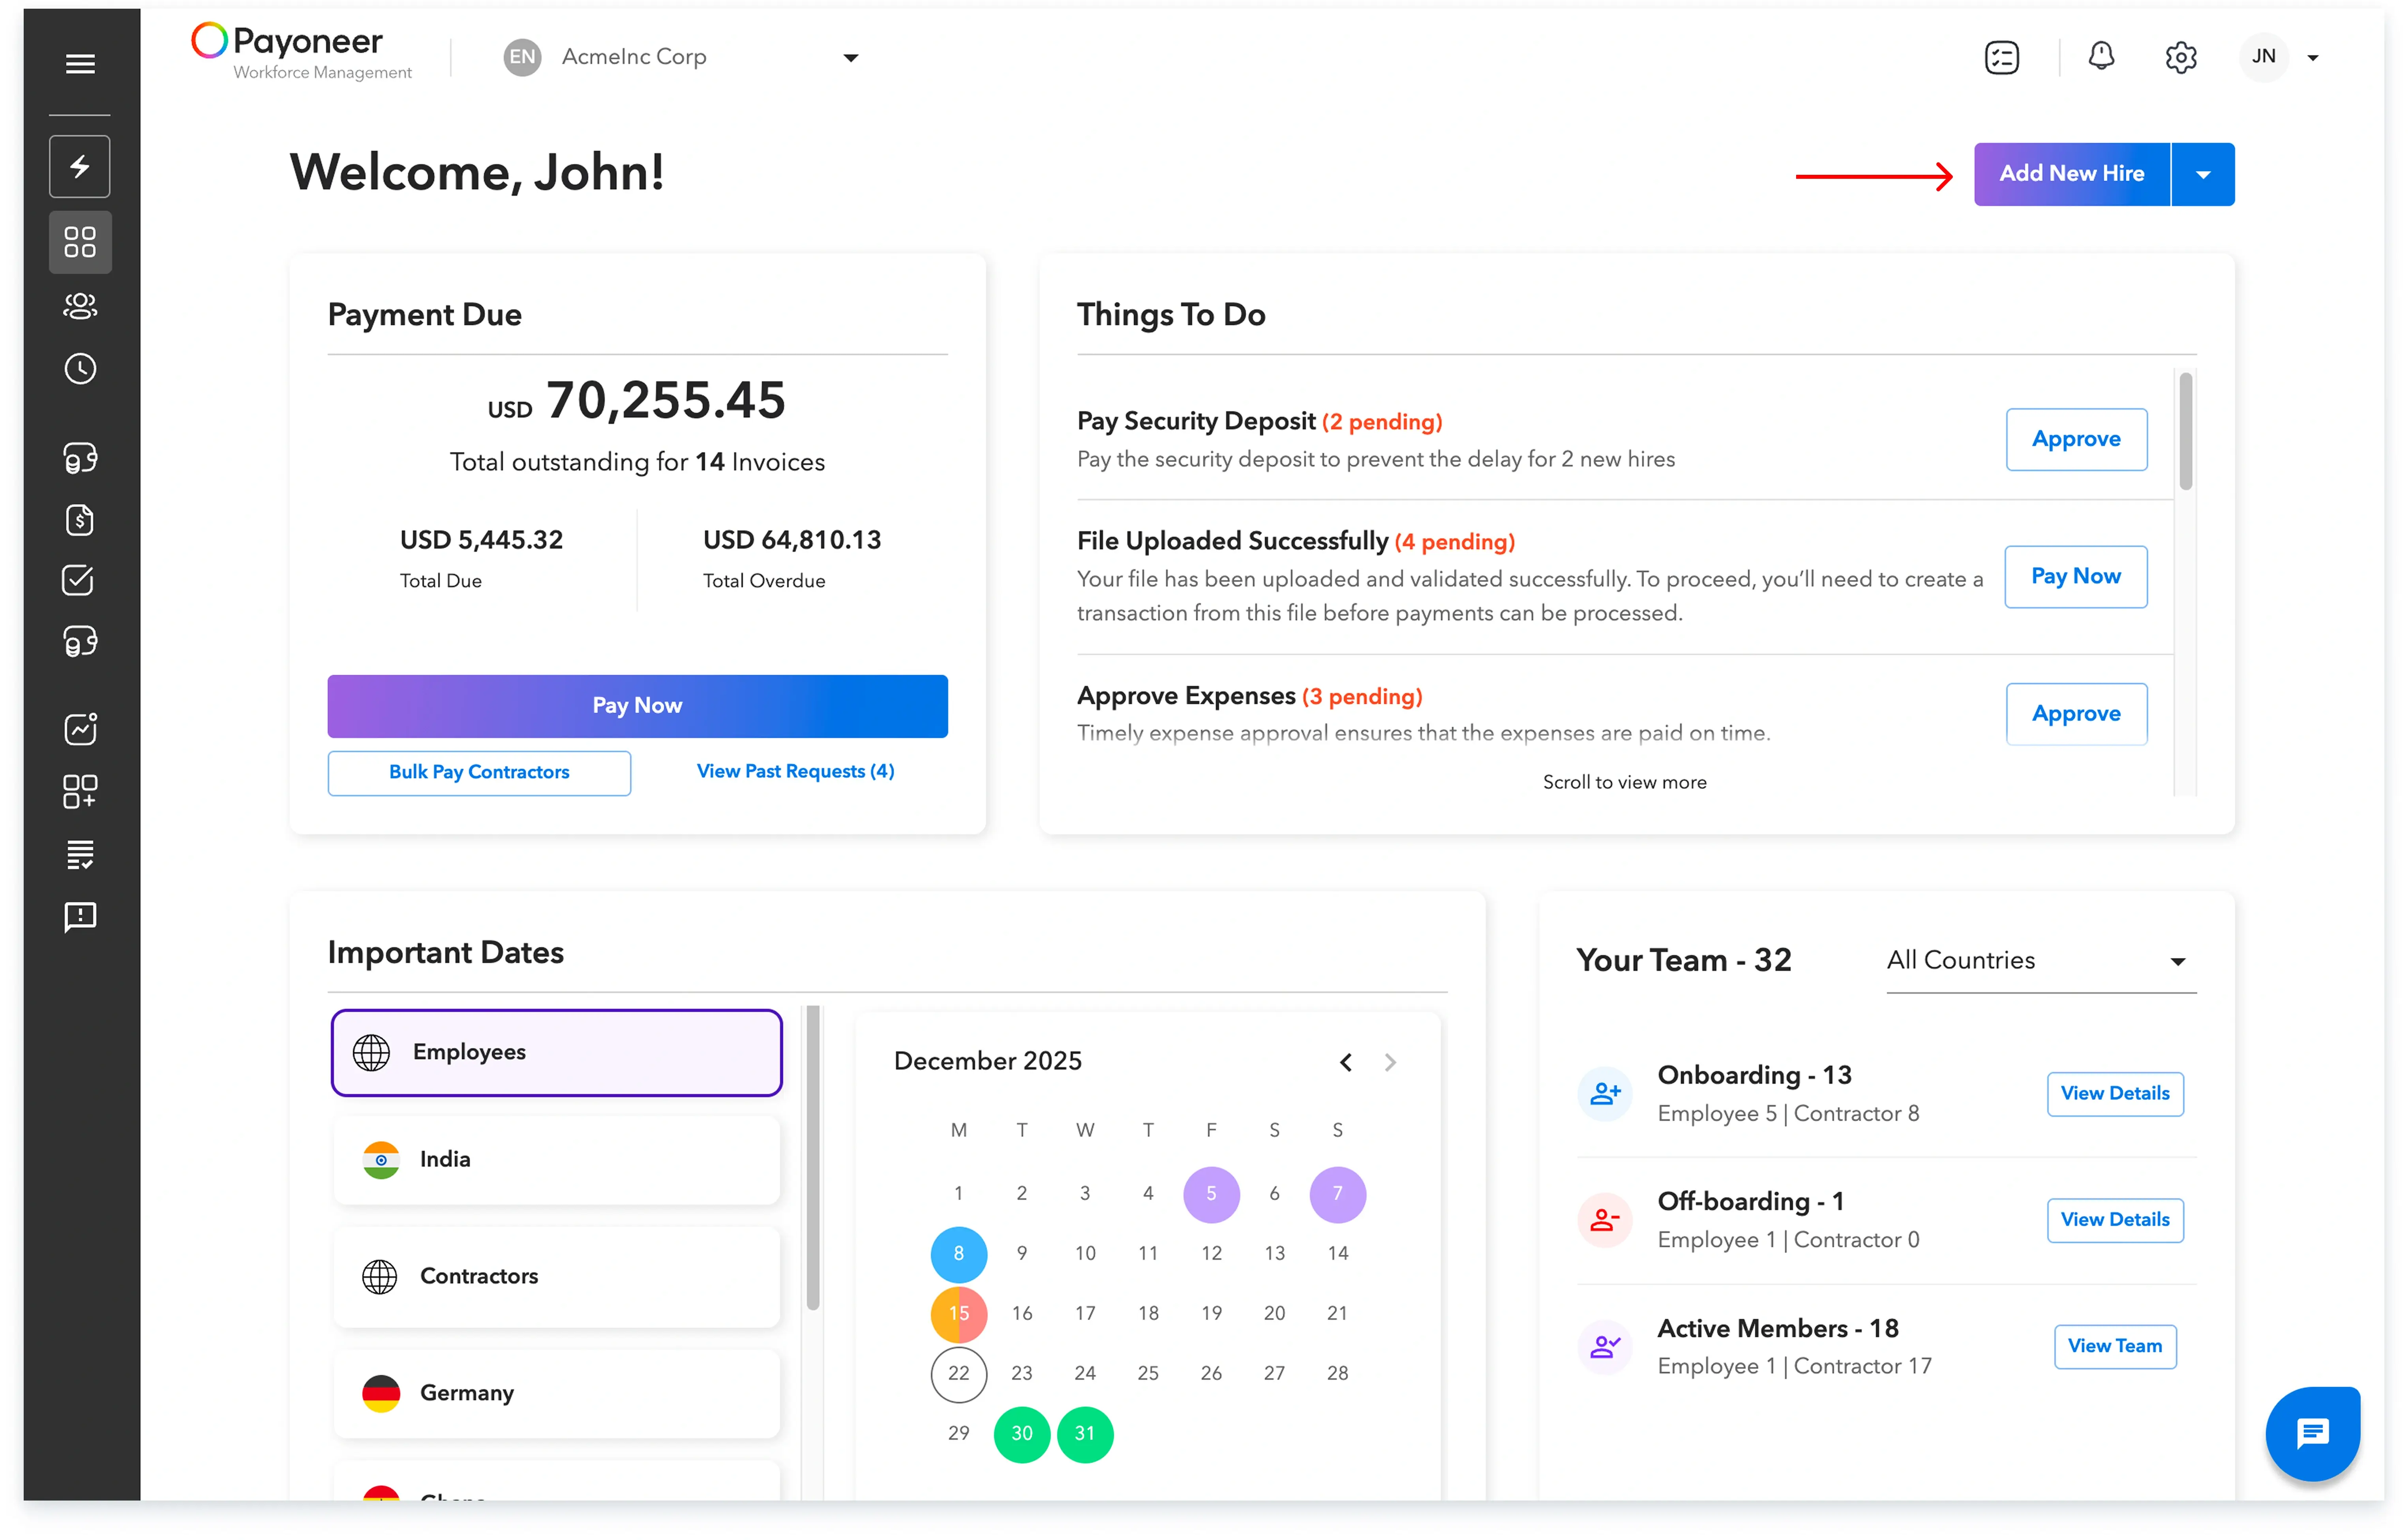
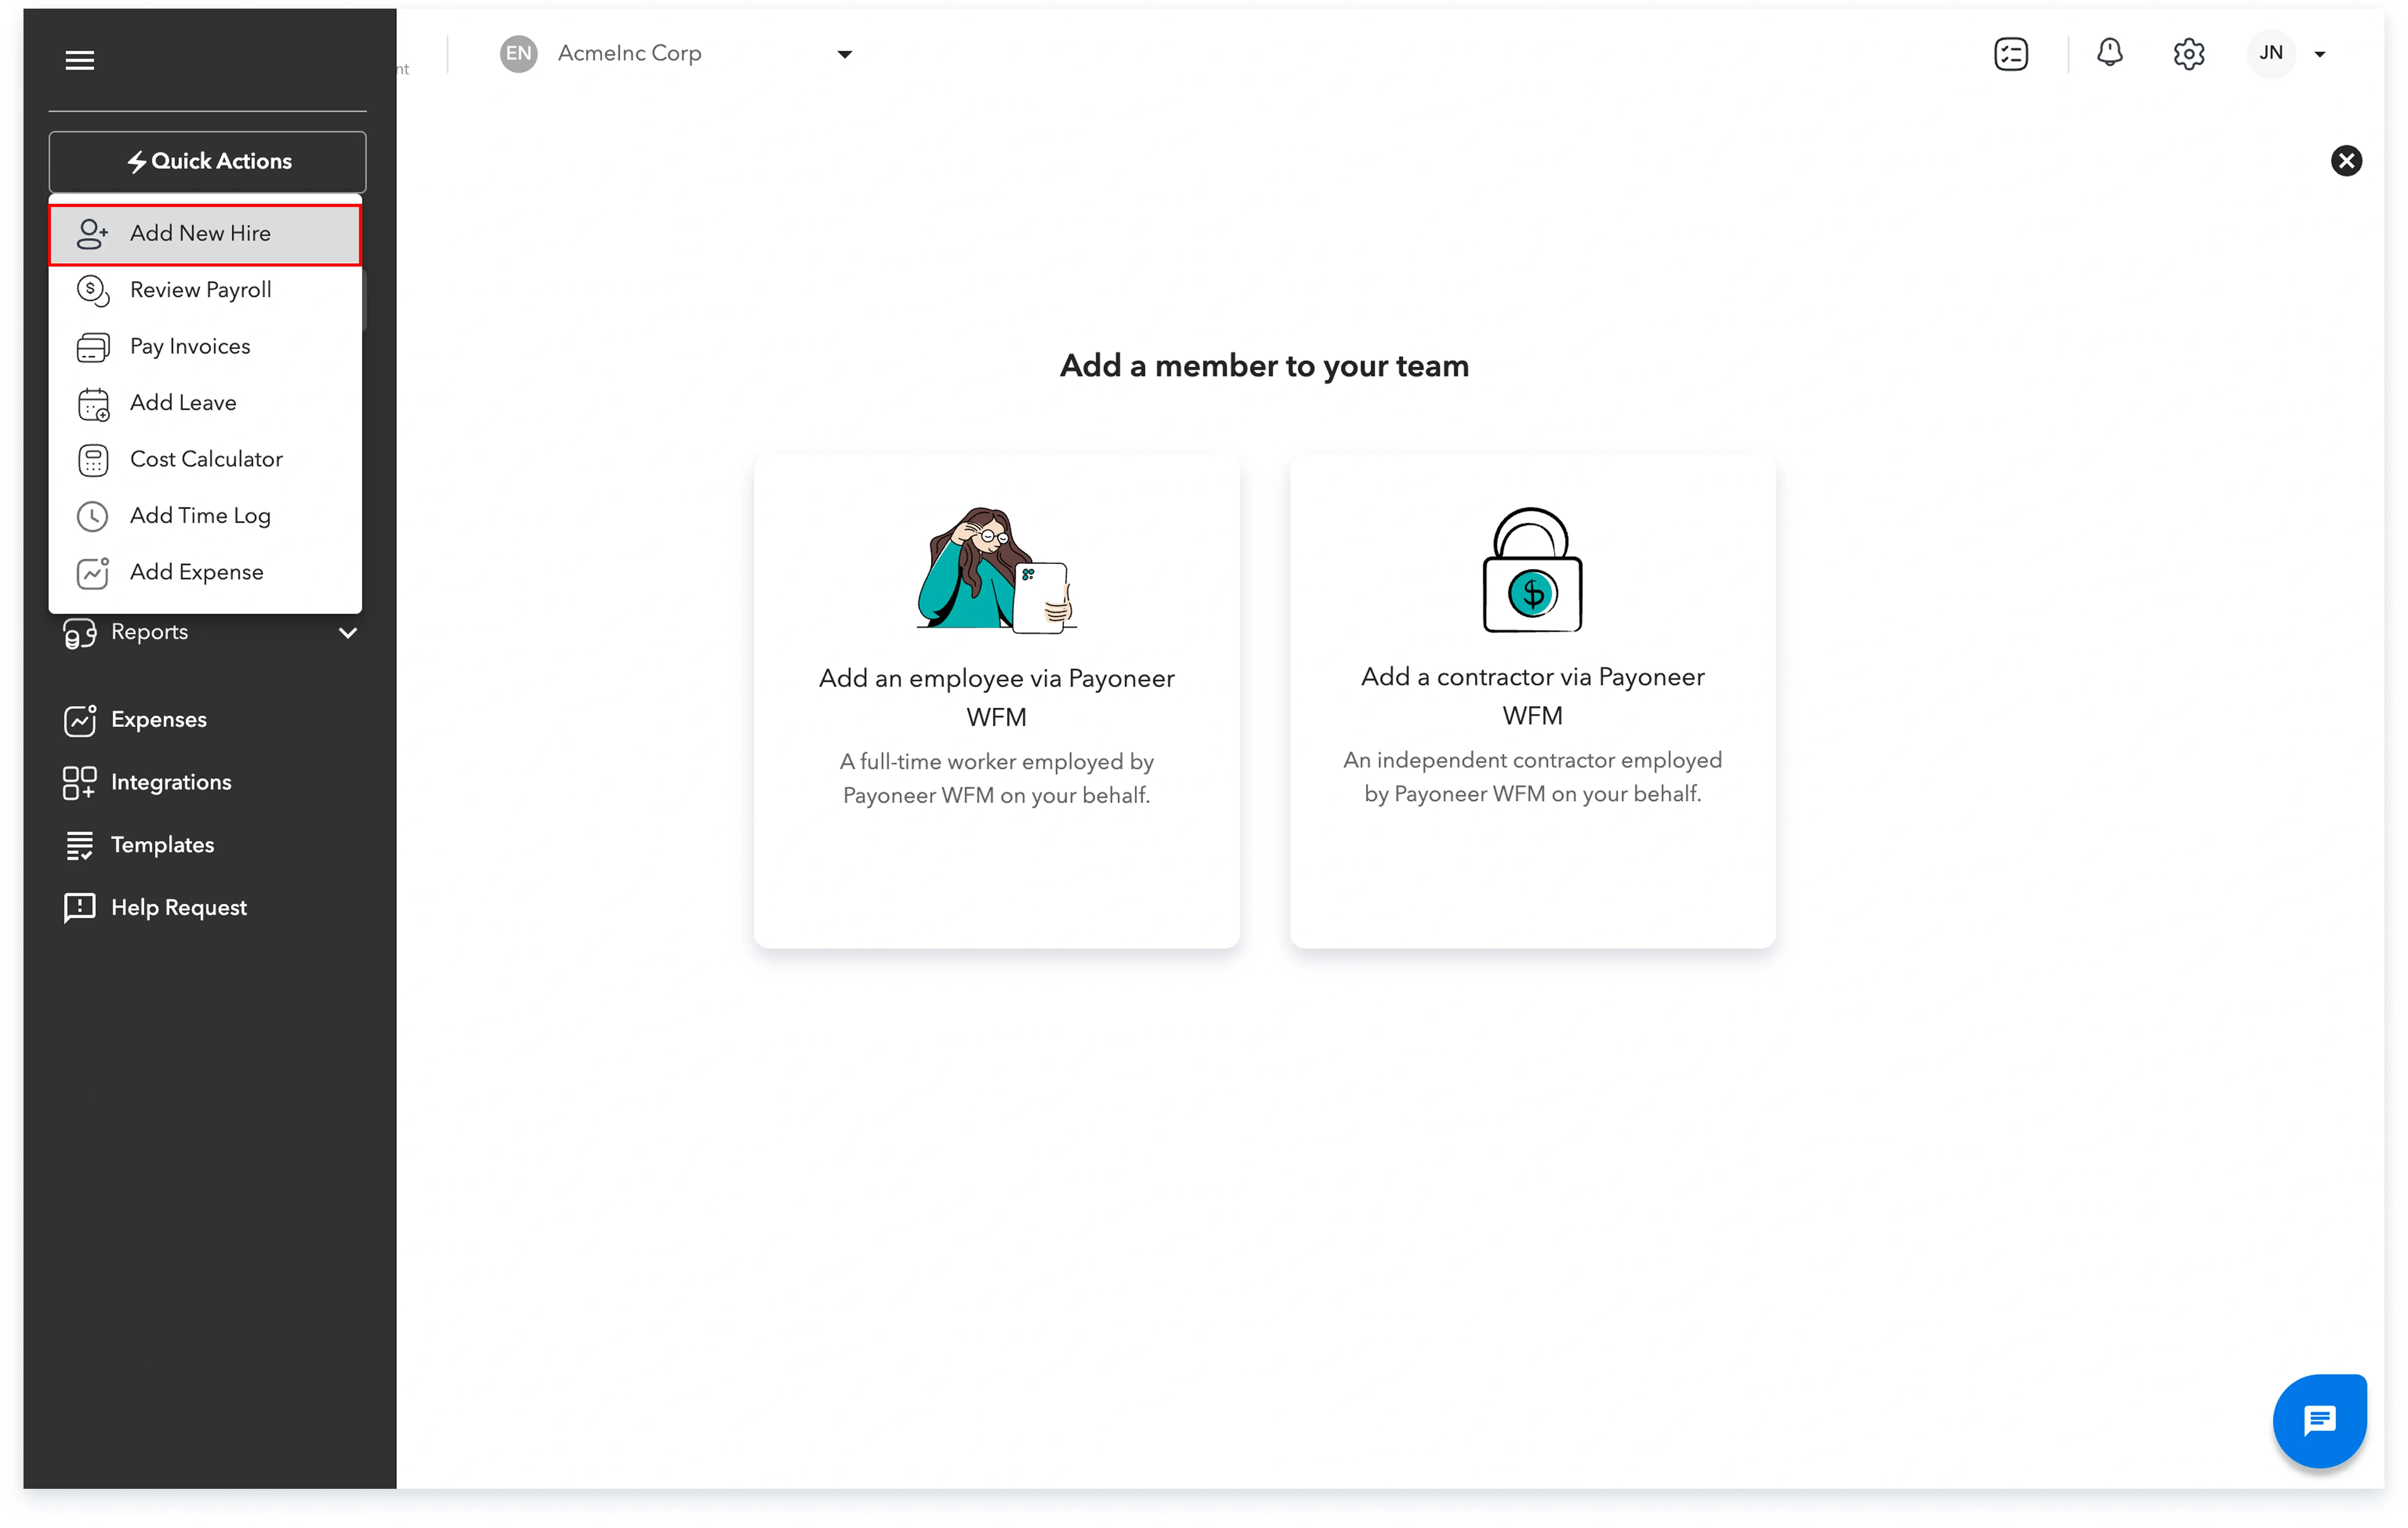
a) Log in to the Payoneer WFM platform. Once you are logged in, navigate to the ‘People’ section and click on ‘Add New Hire’. Alternatively, you may go to ‘Quick Actions’ and select ‘Add New Hire’.
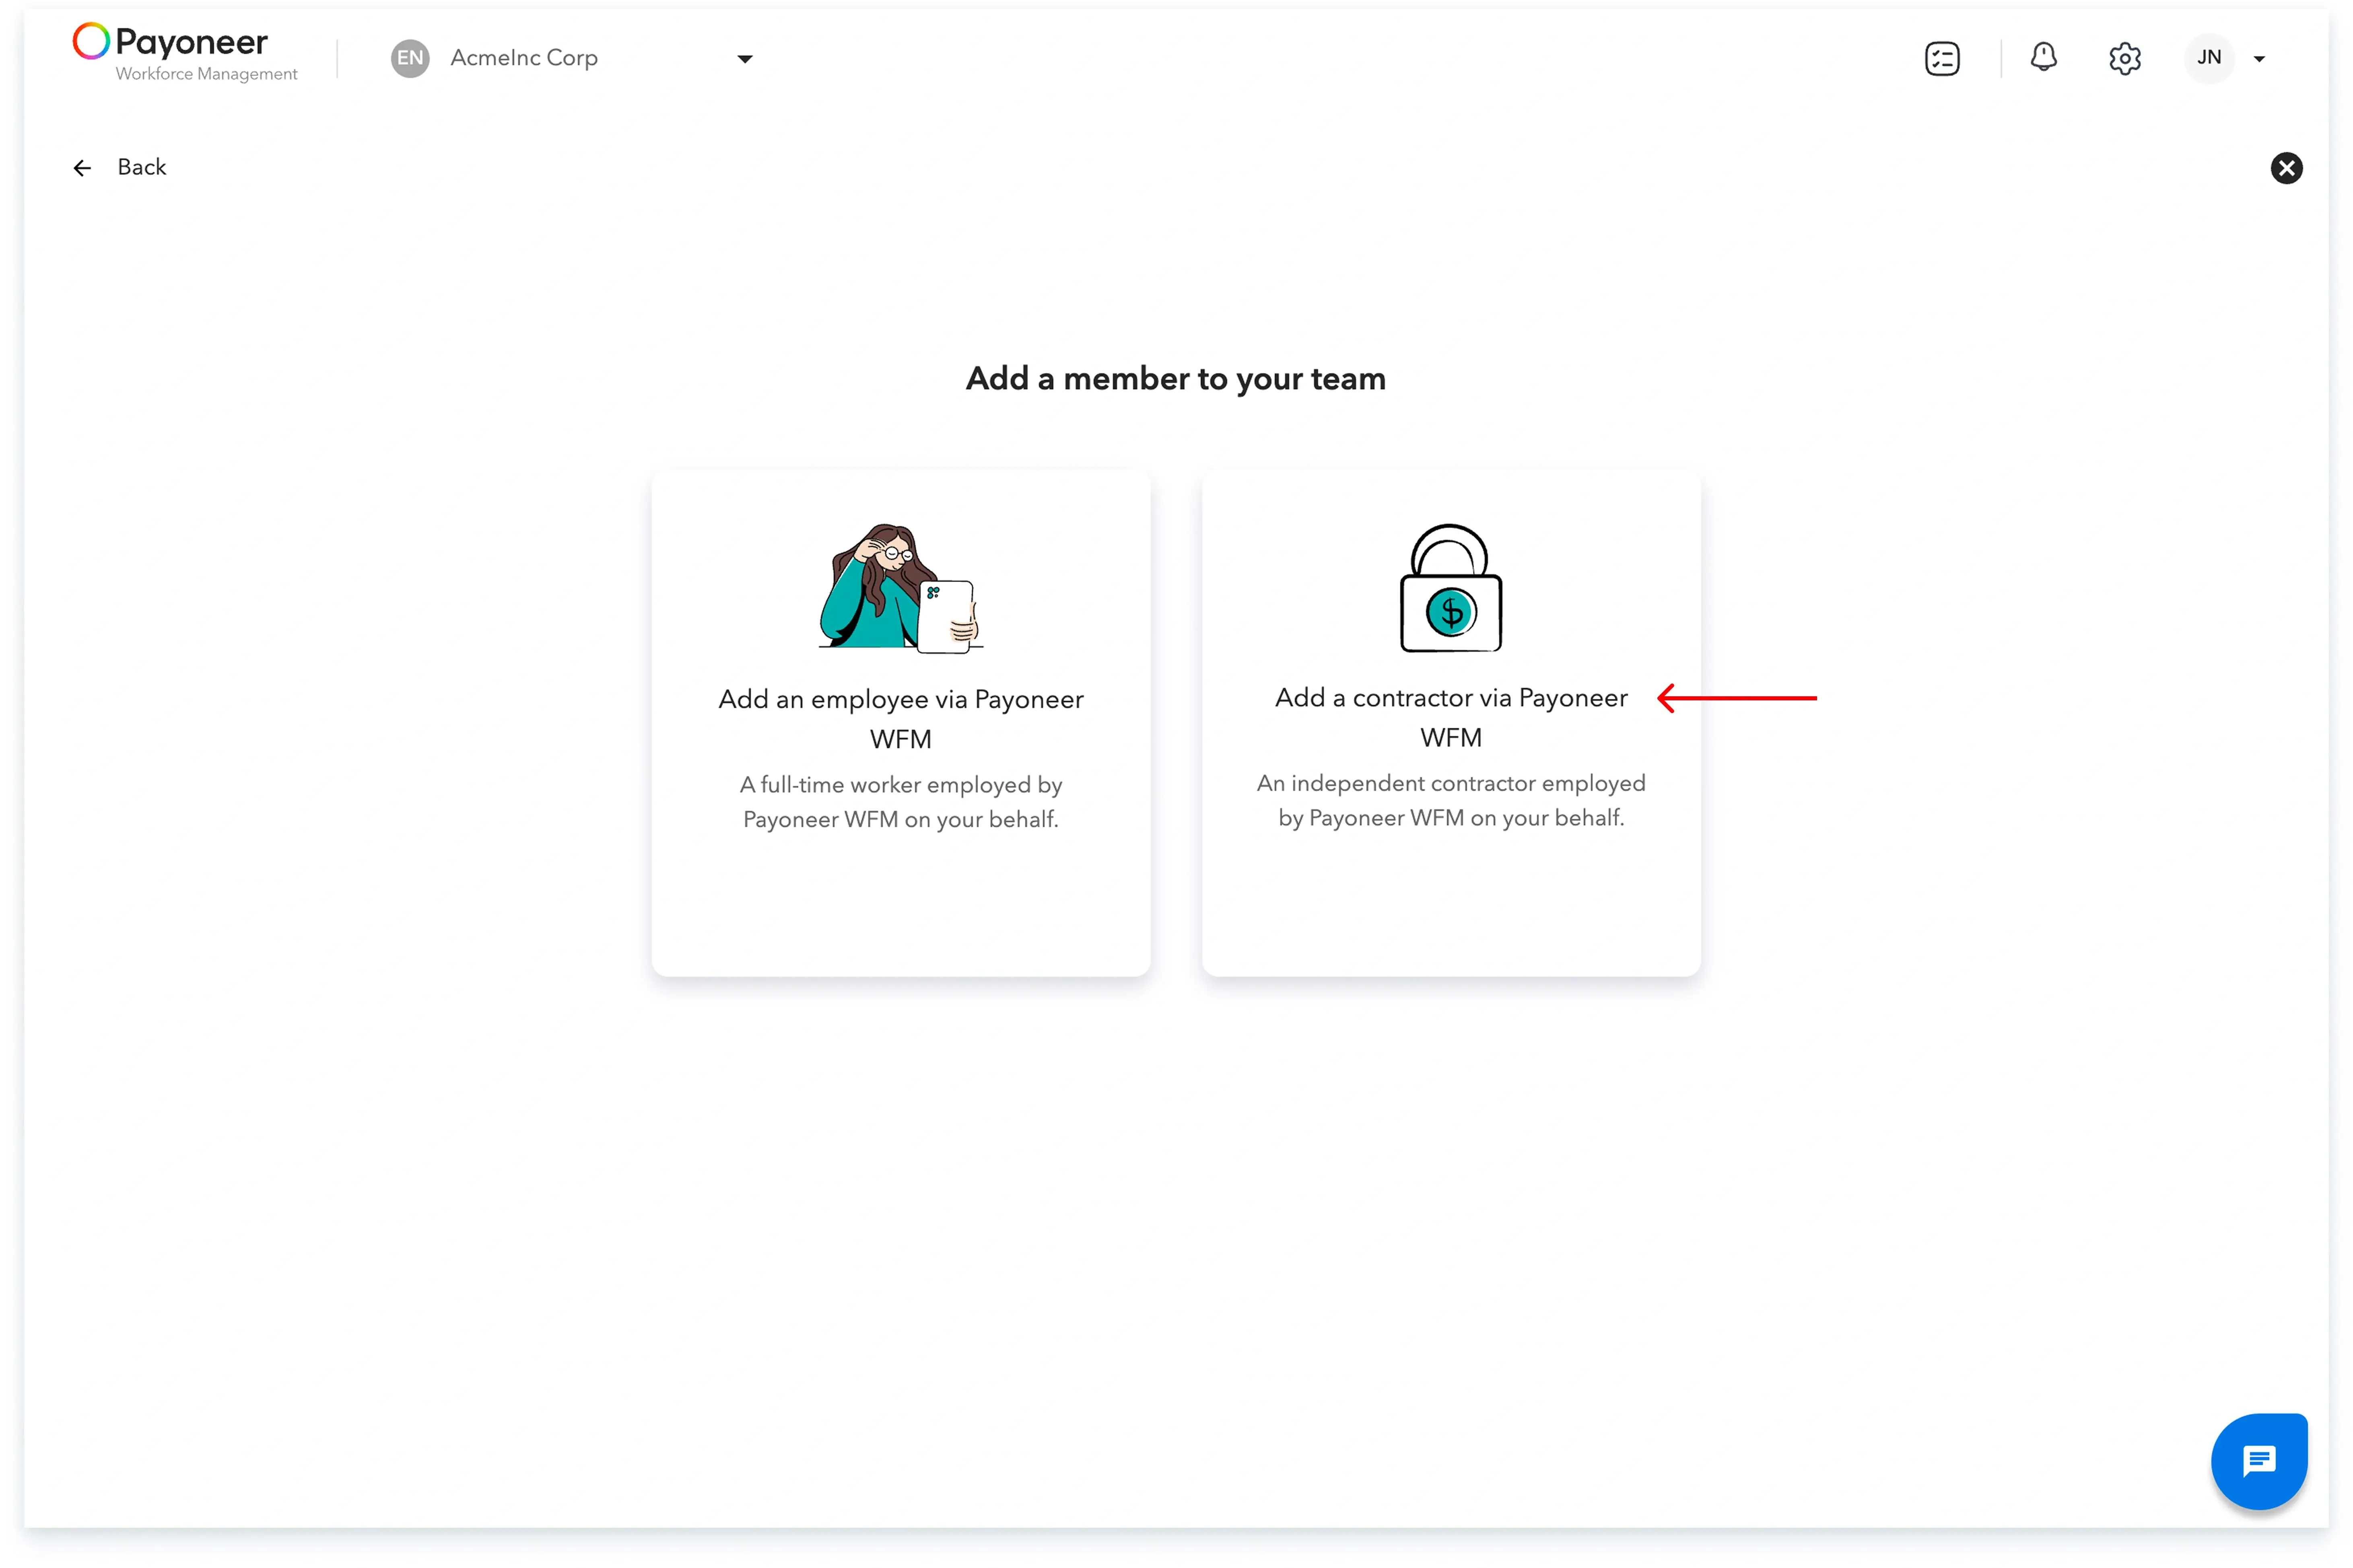
Step 2: Choose the option that states ‘Add A Contractor via Payoneer WFM’
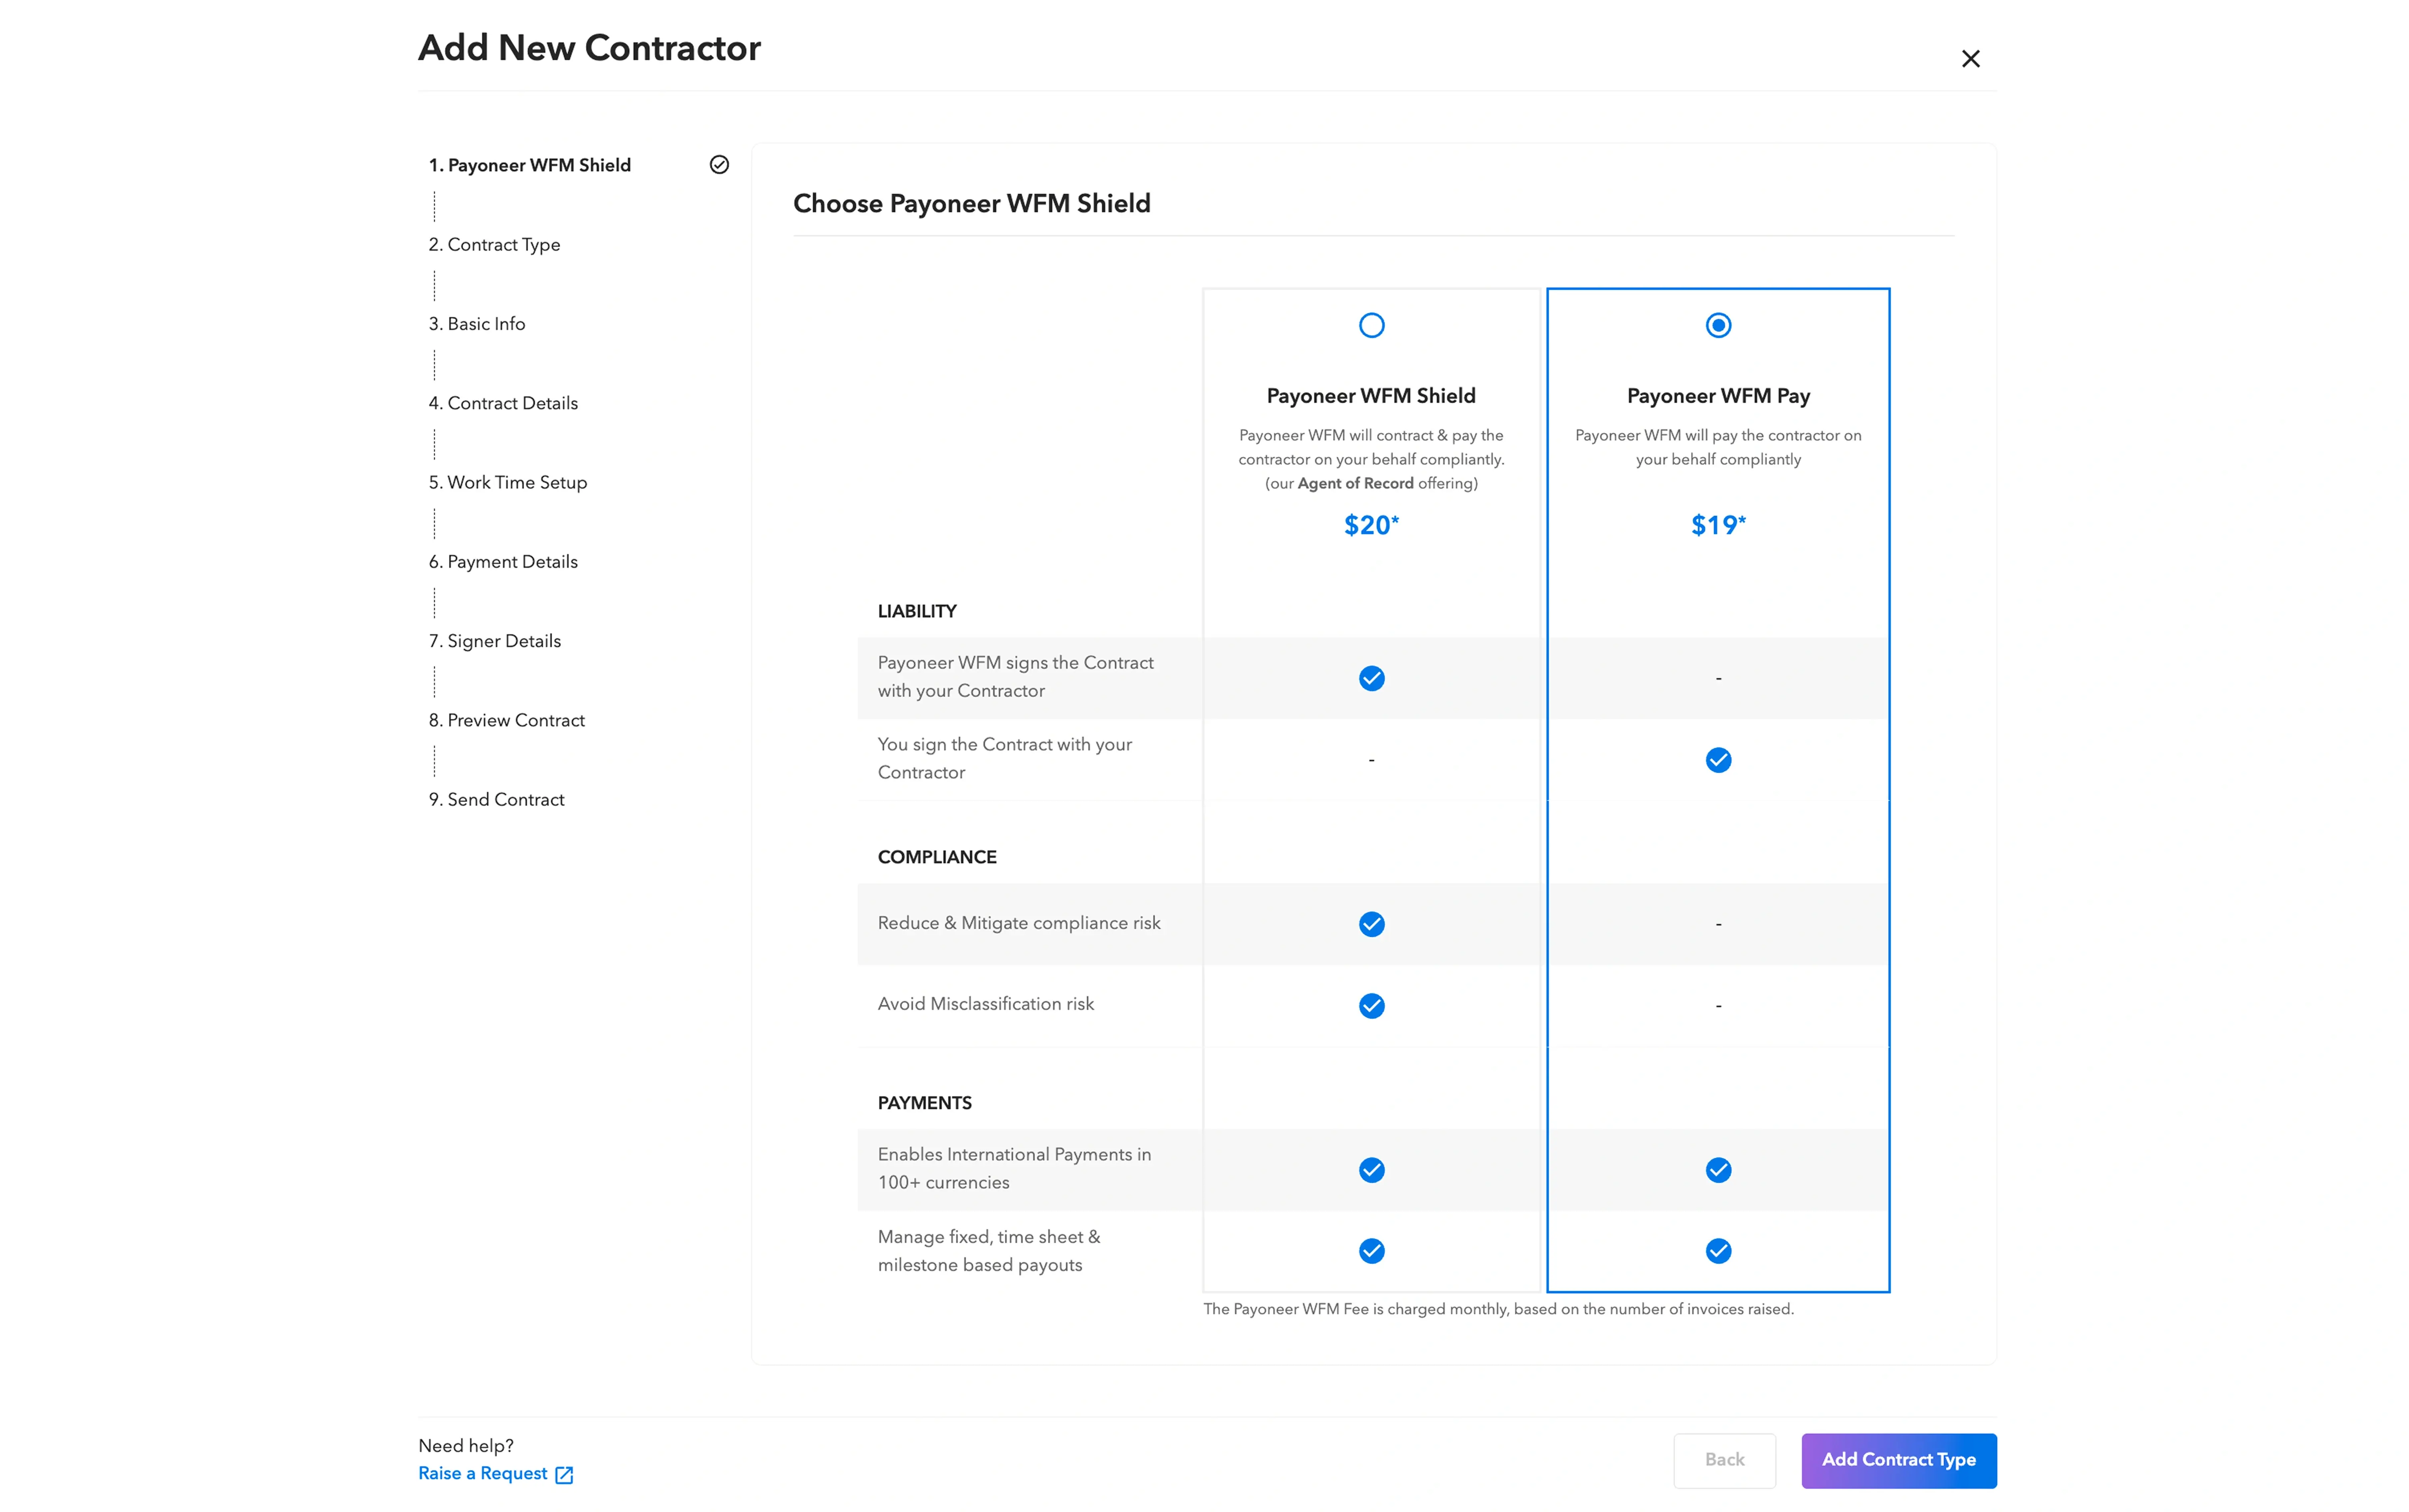
Step 3: Select ‘Payoneer WFM Pay’, as the service option, to add your Pay-Only contractor.
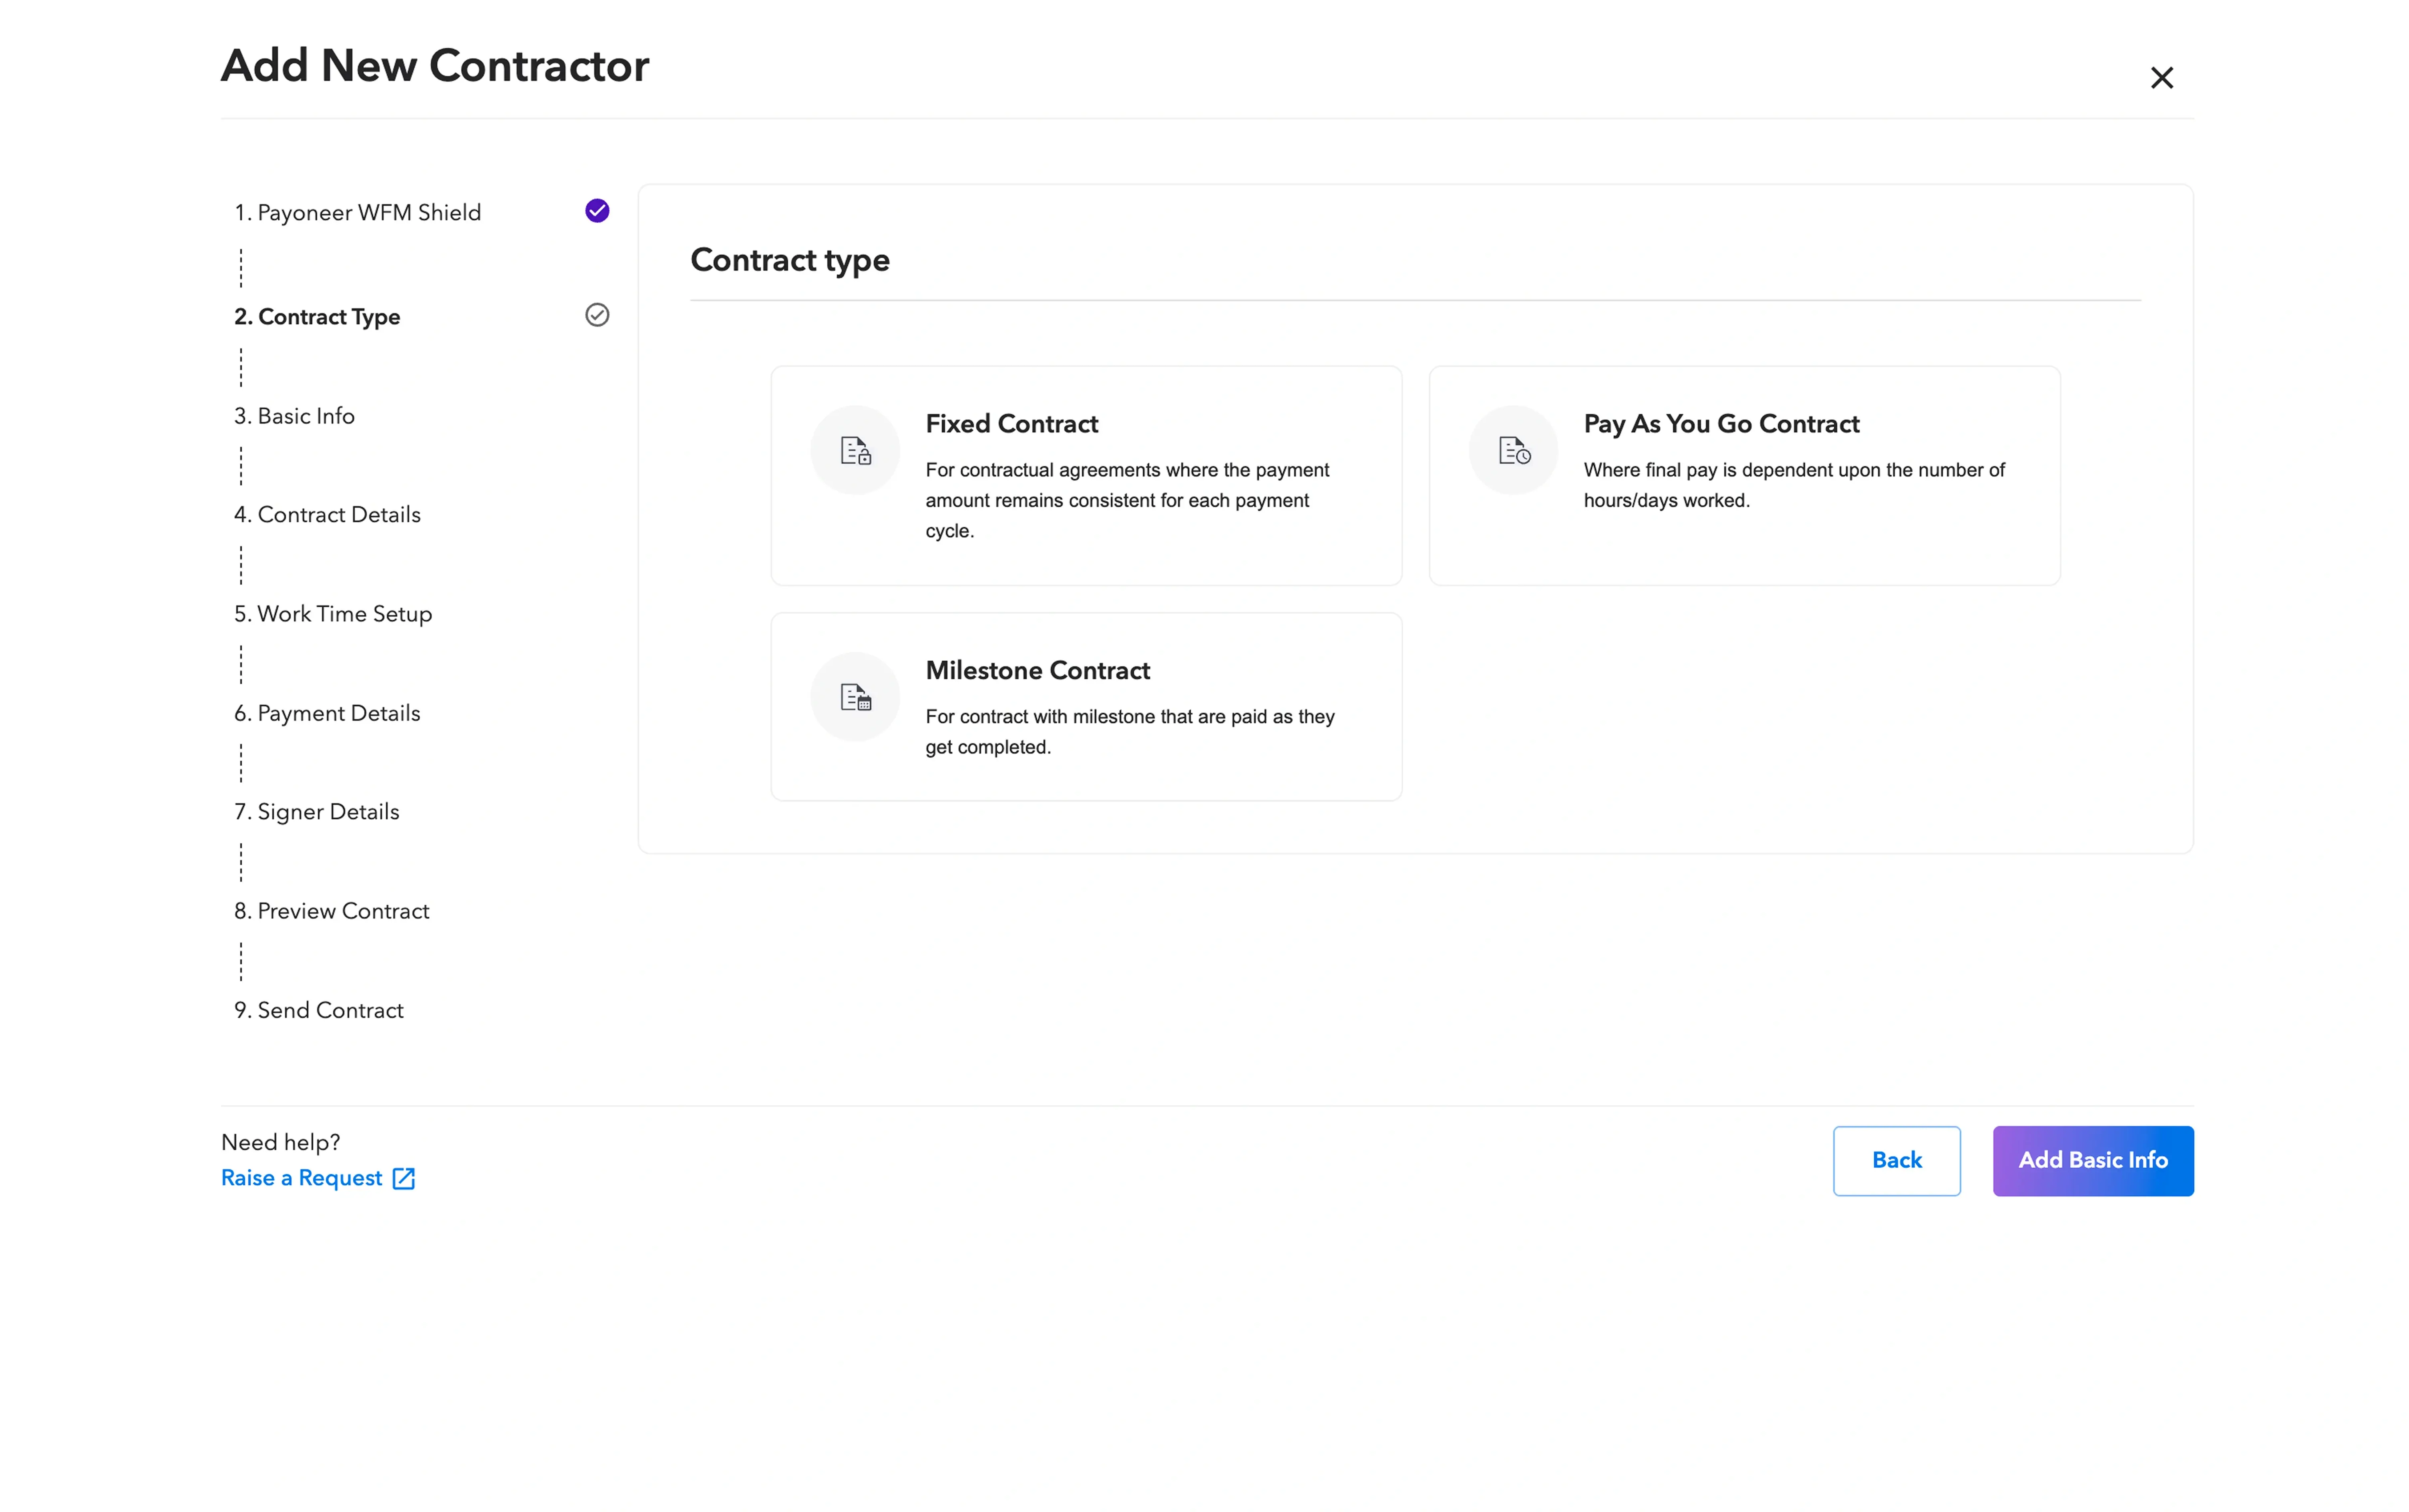
Step 4: Select the type of contract you wish to establish:
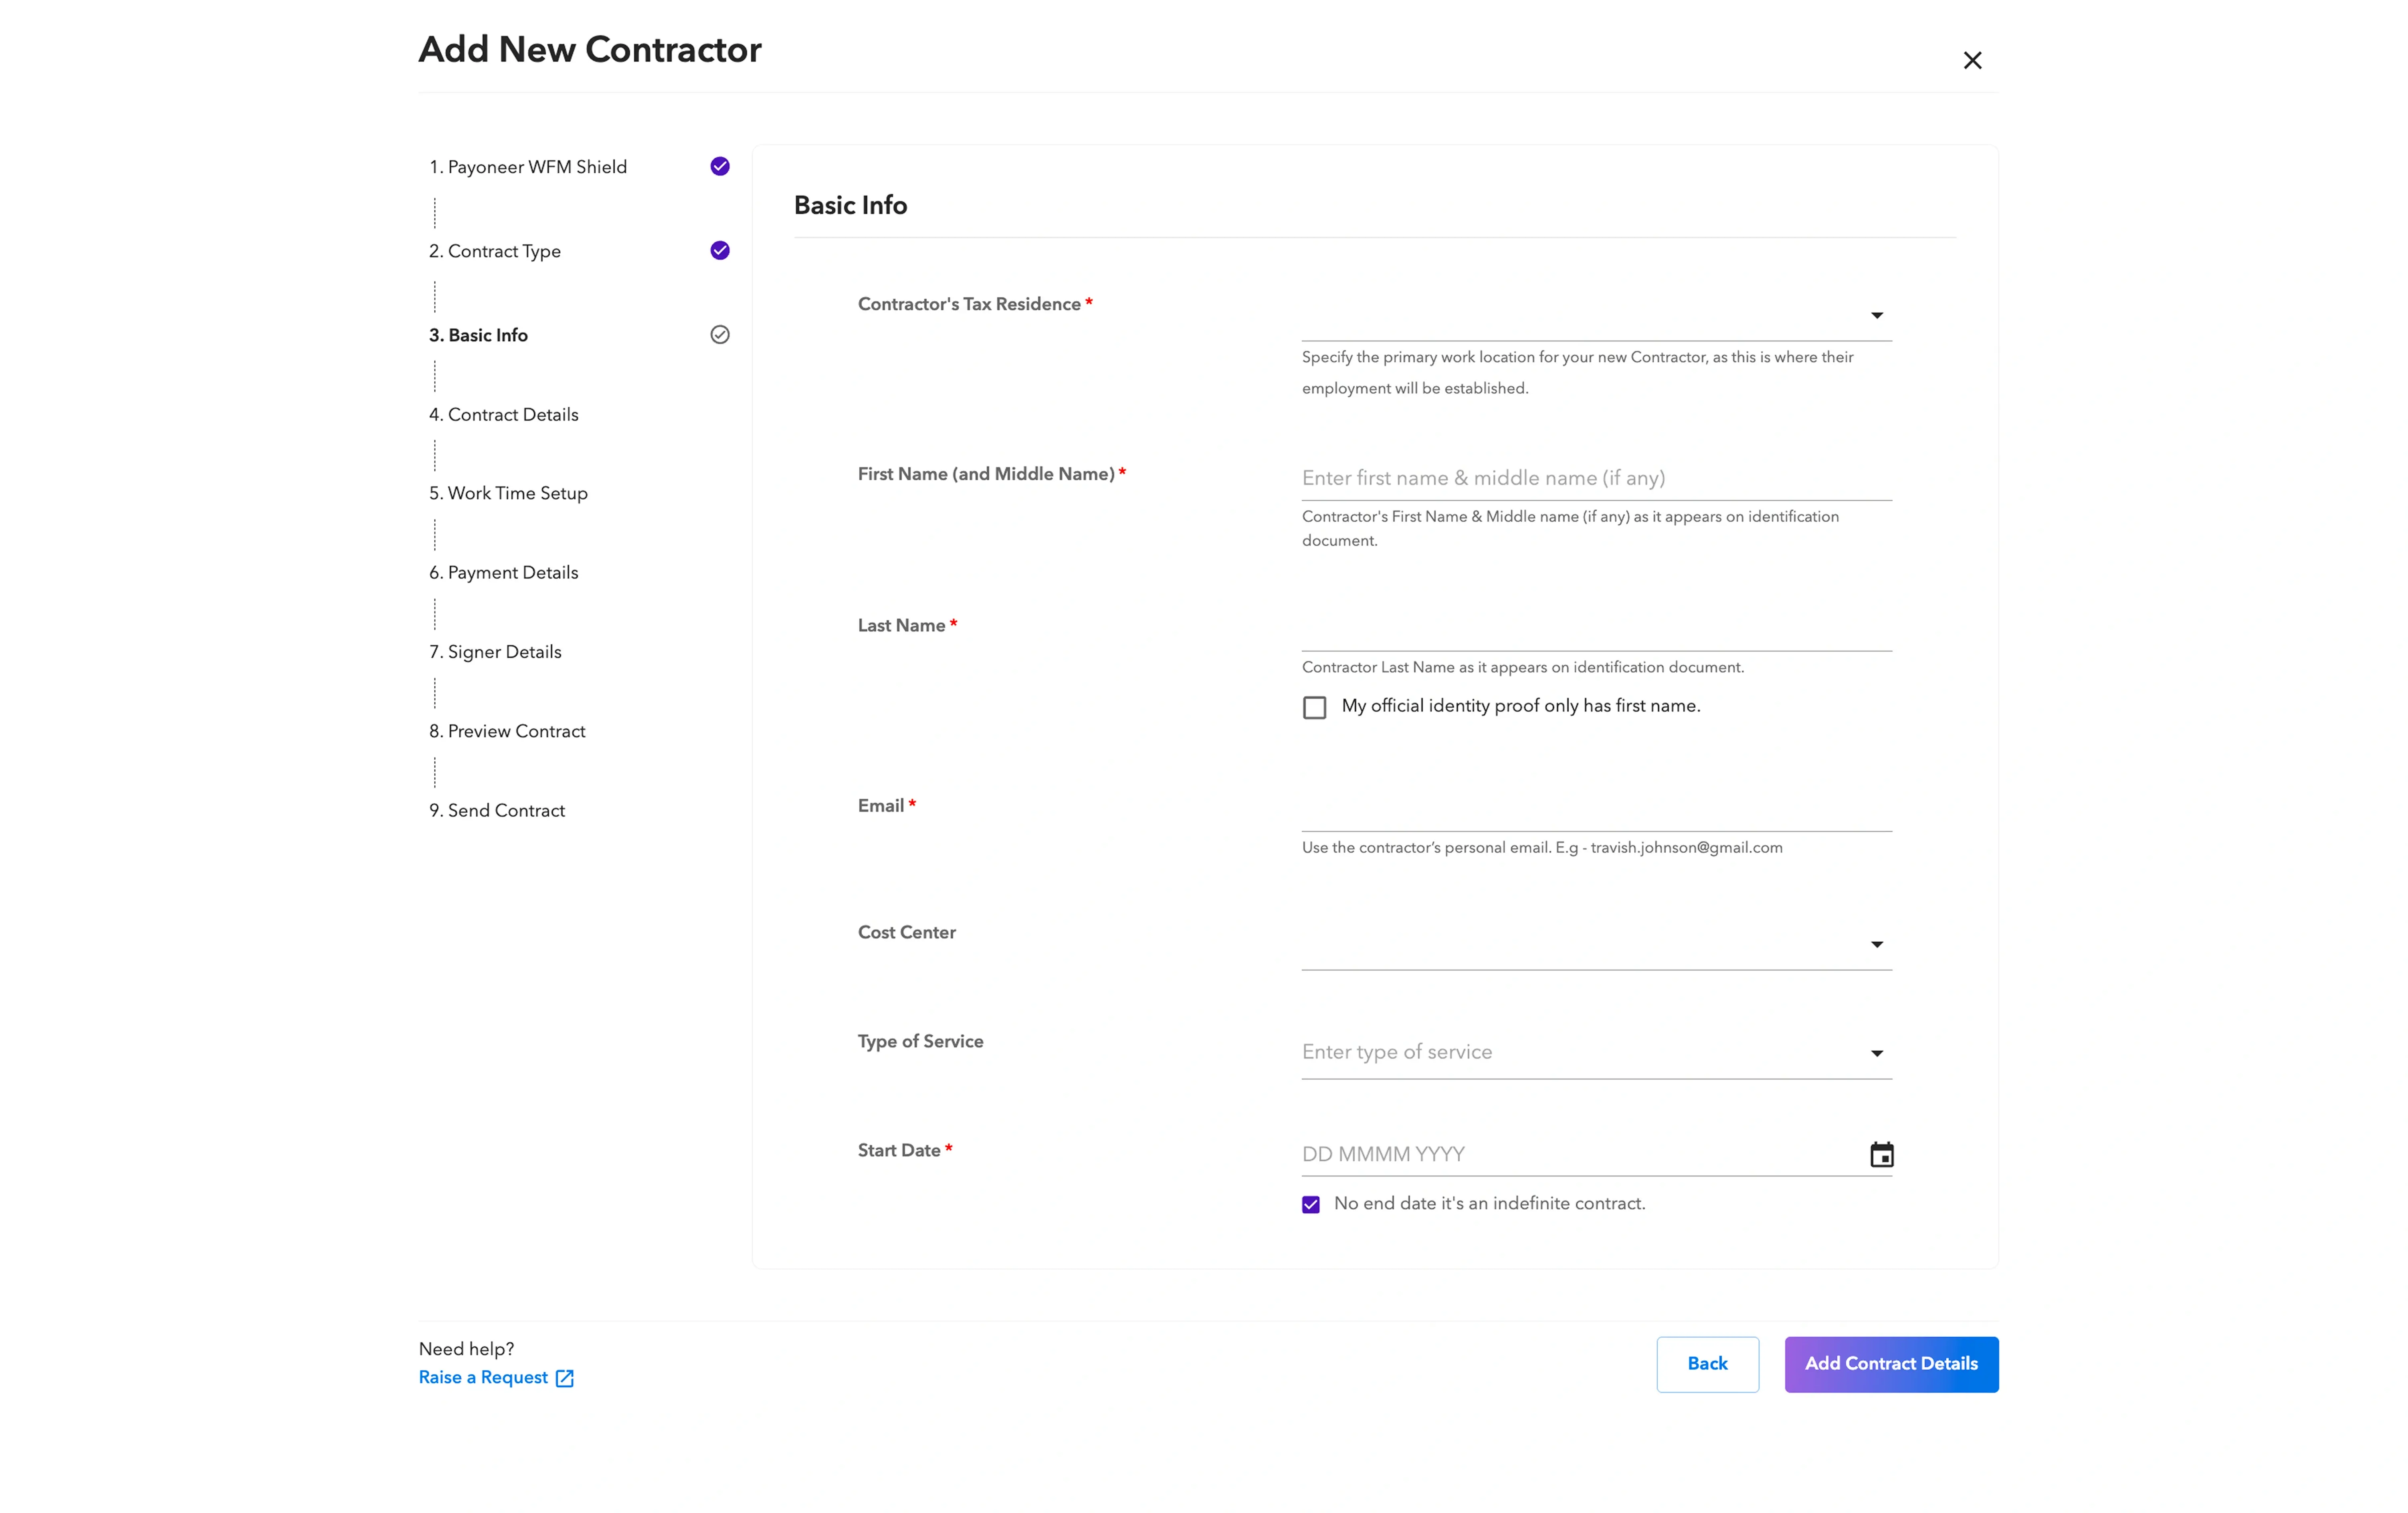
Step 5: Fill in the basic identification details of the contractor, such as their name, email, and the contract start date
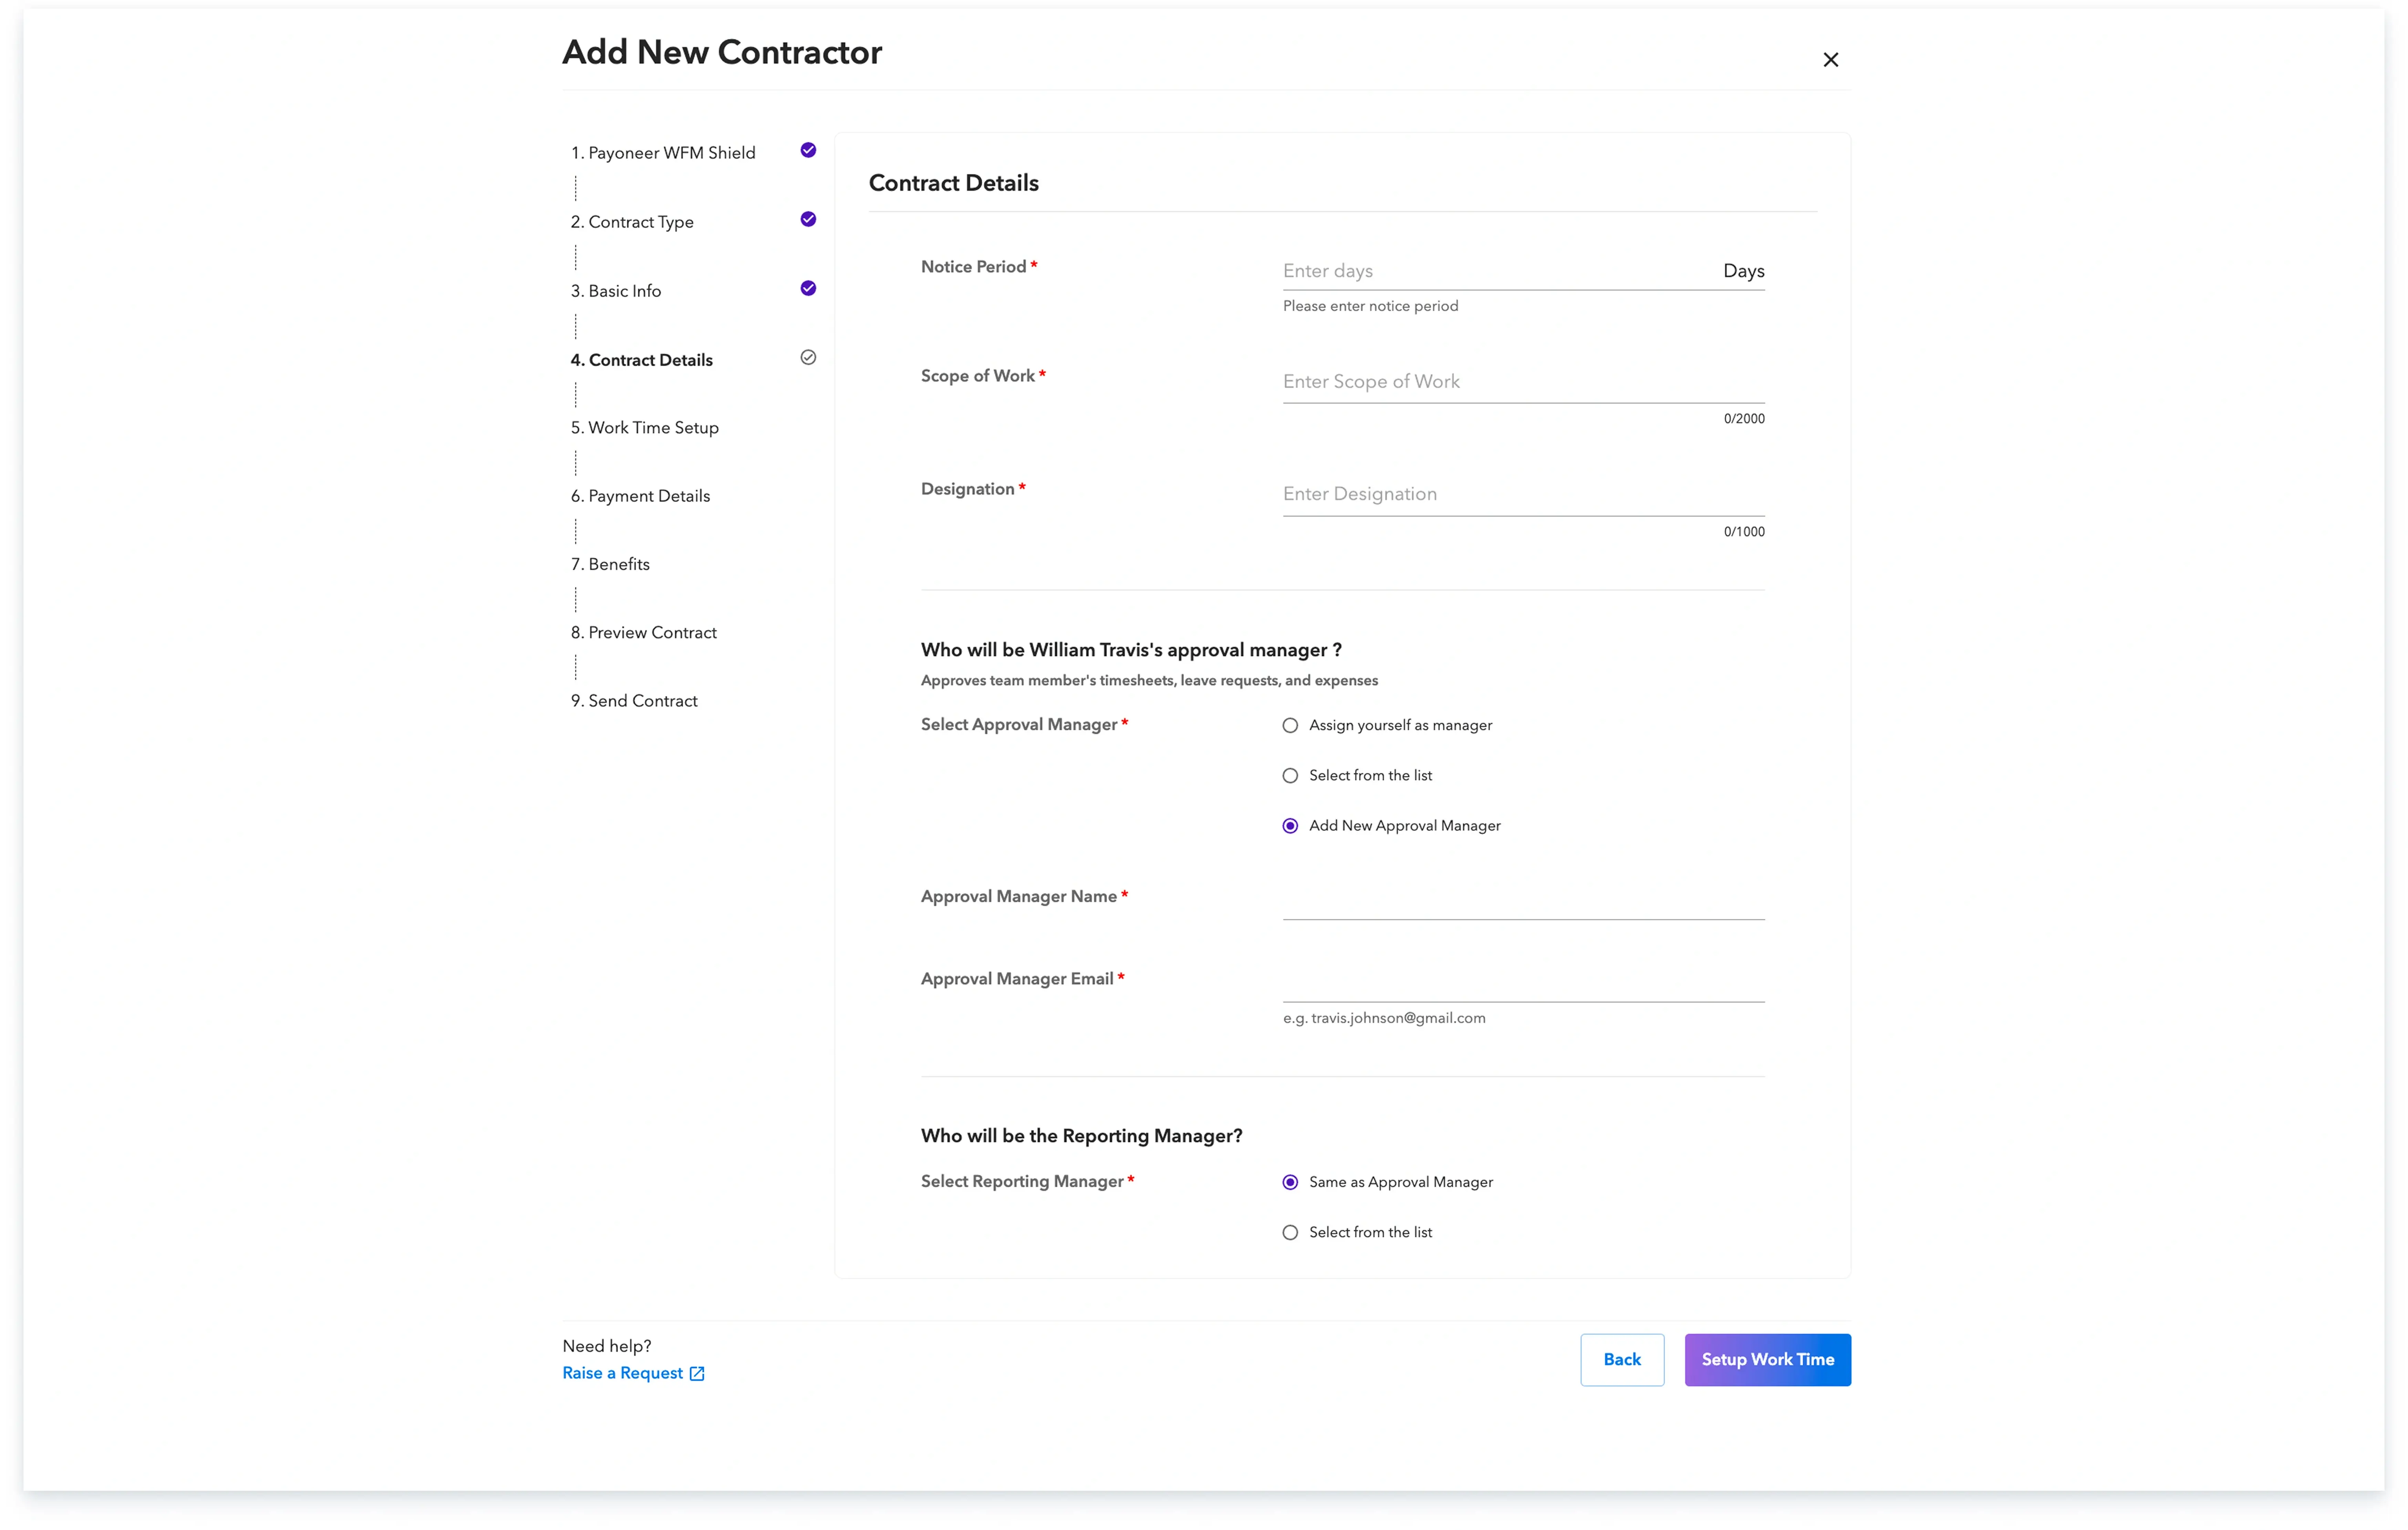
Step 6: Add the necessary contract details, including the notice period, job description, and designation details.
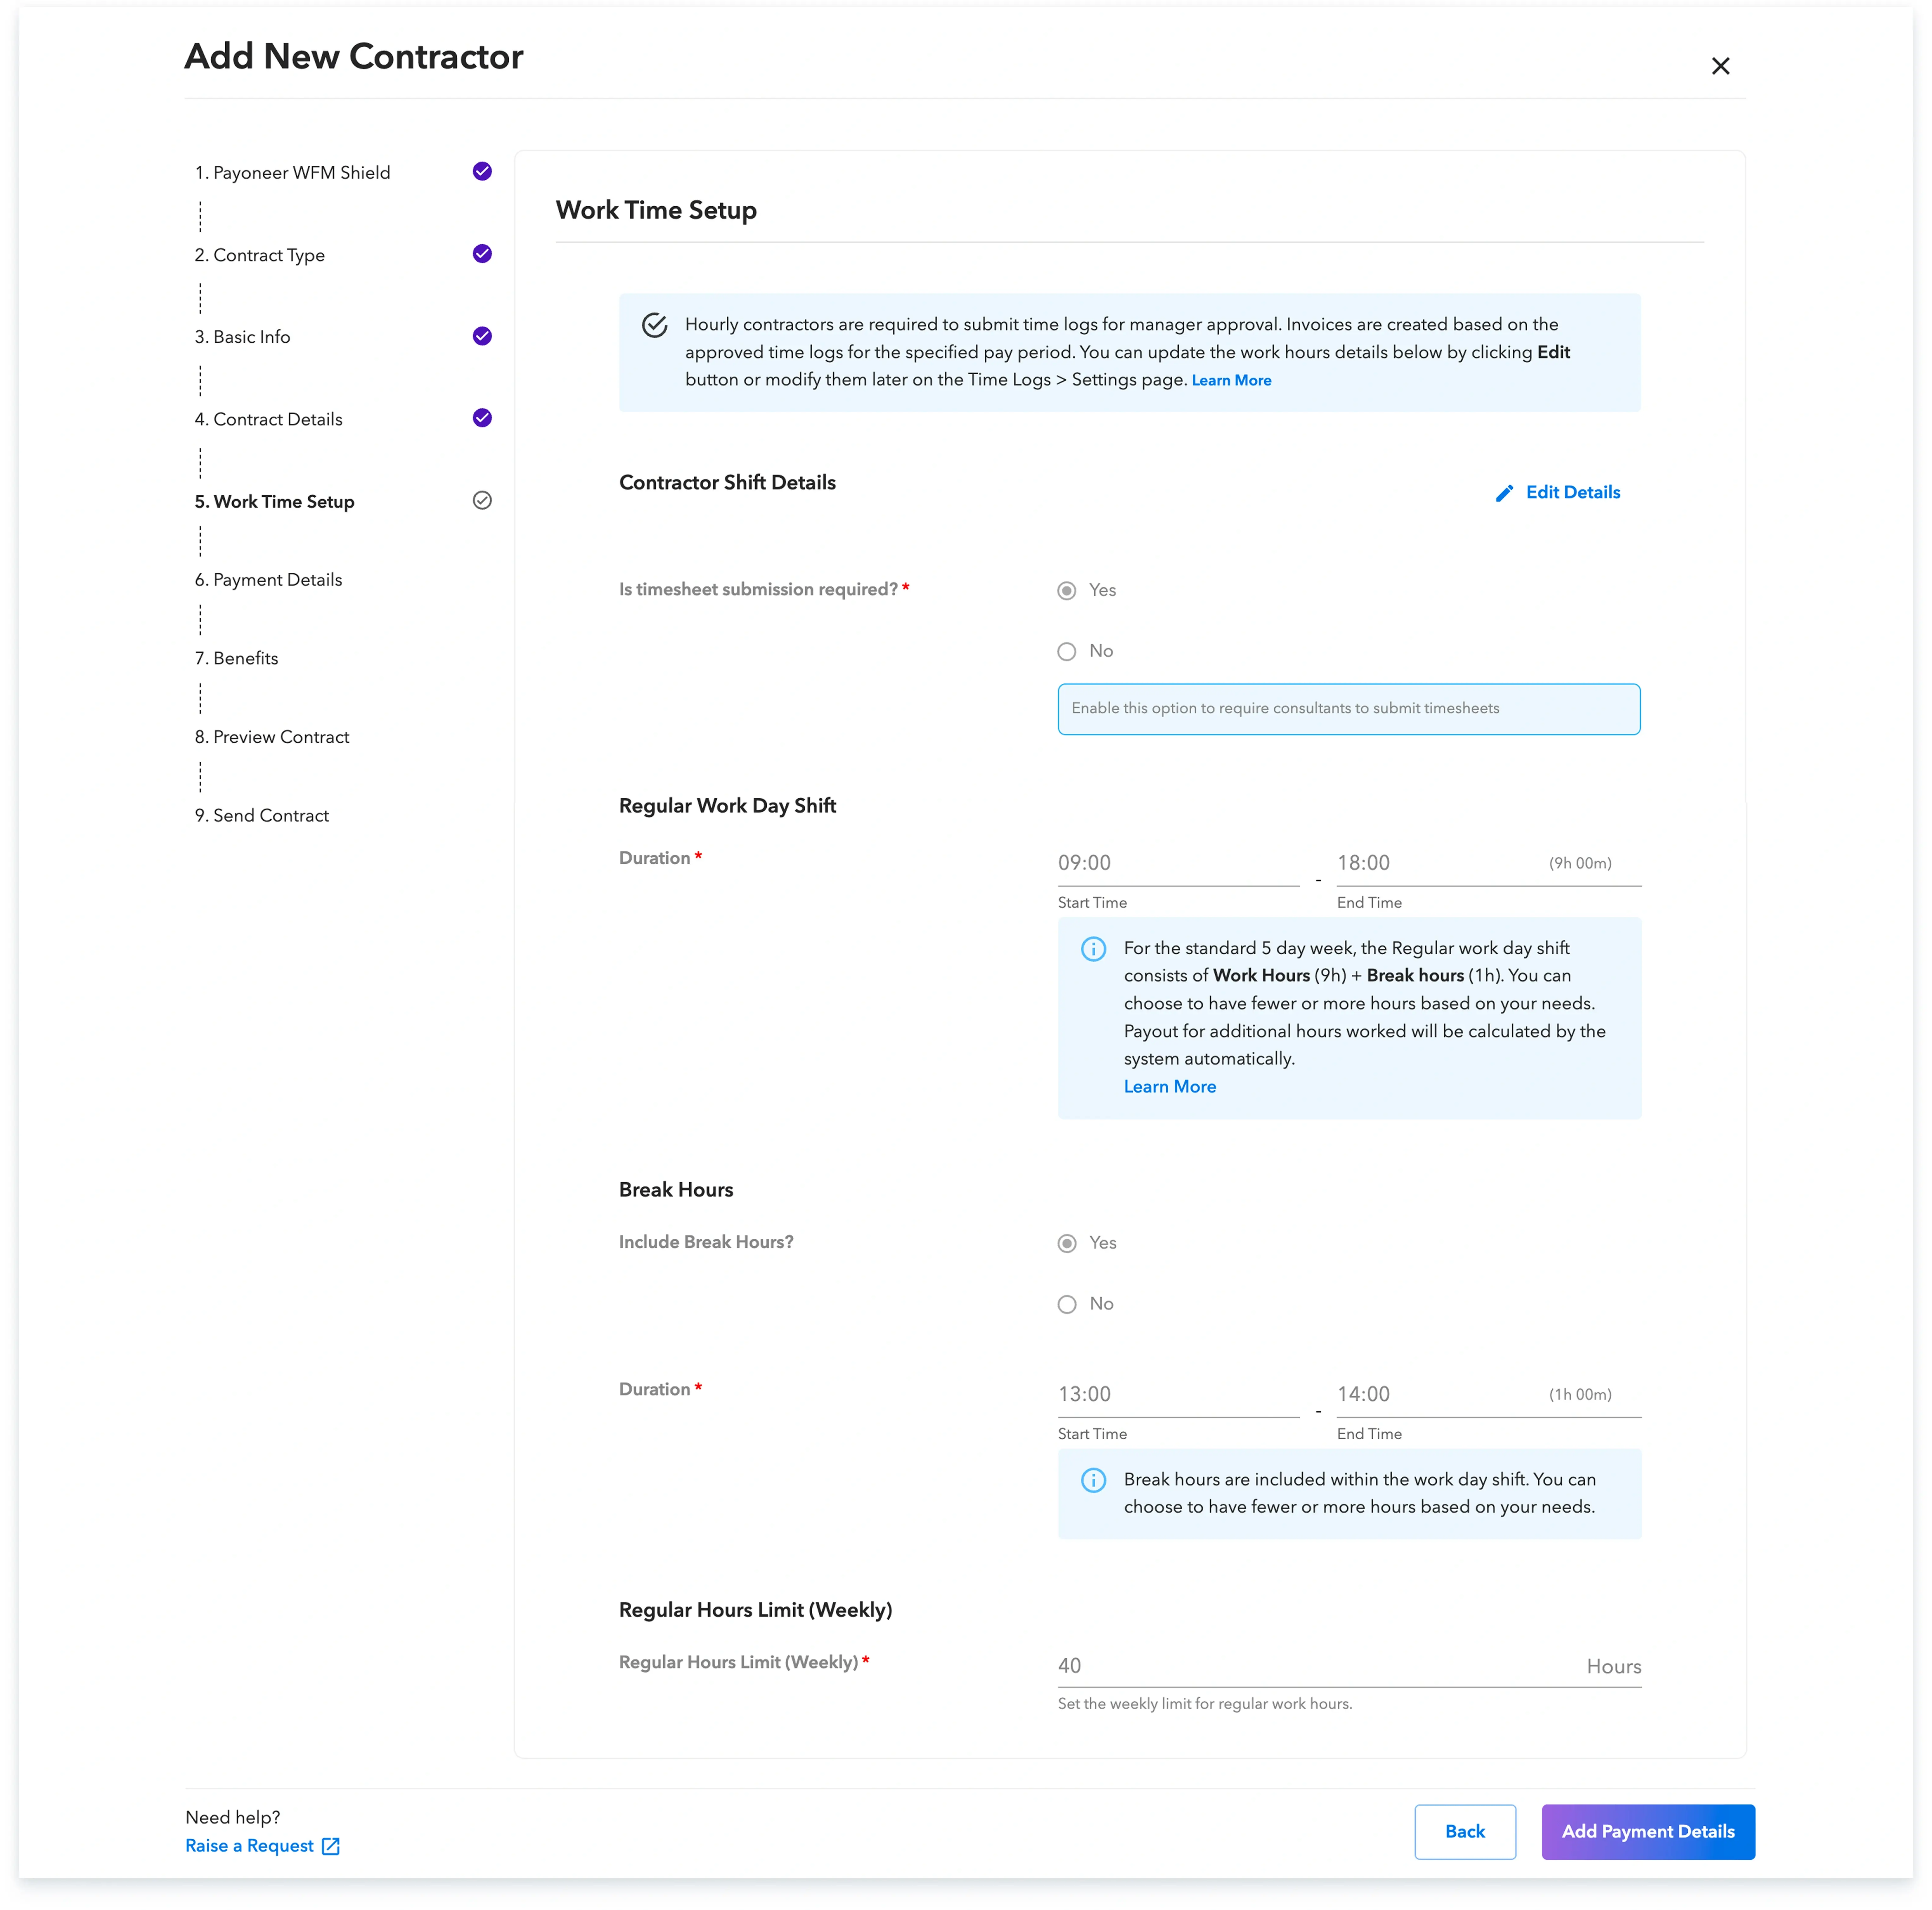
Step-7: Set up the work time requirements for the contractor.
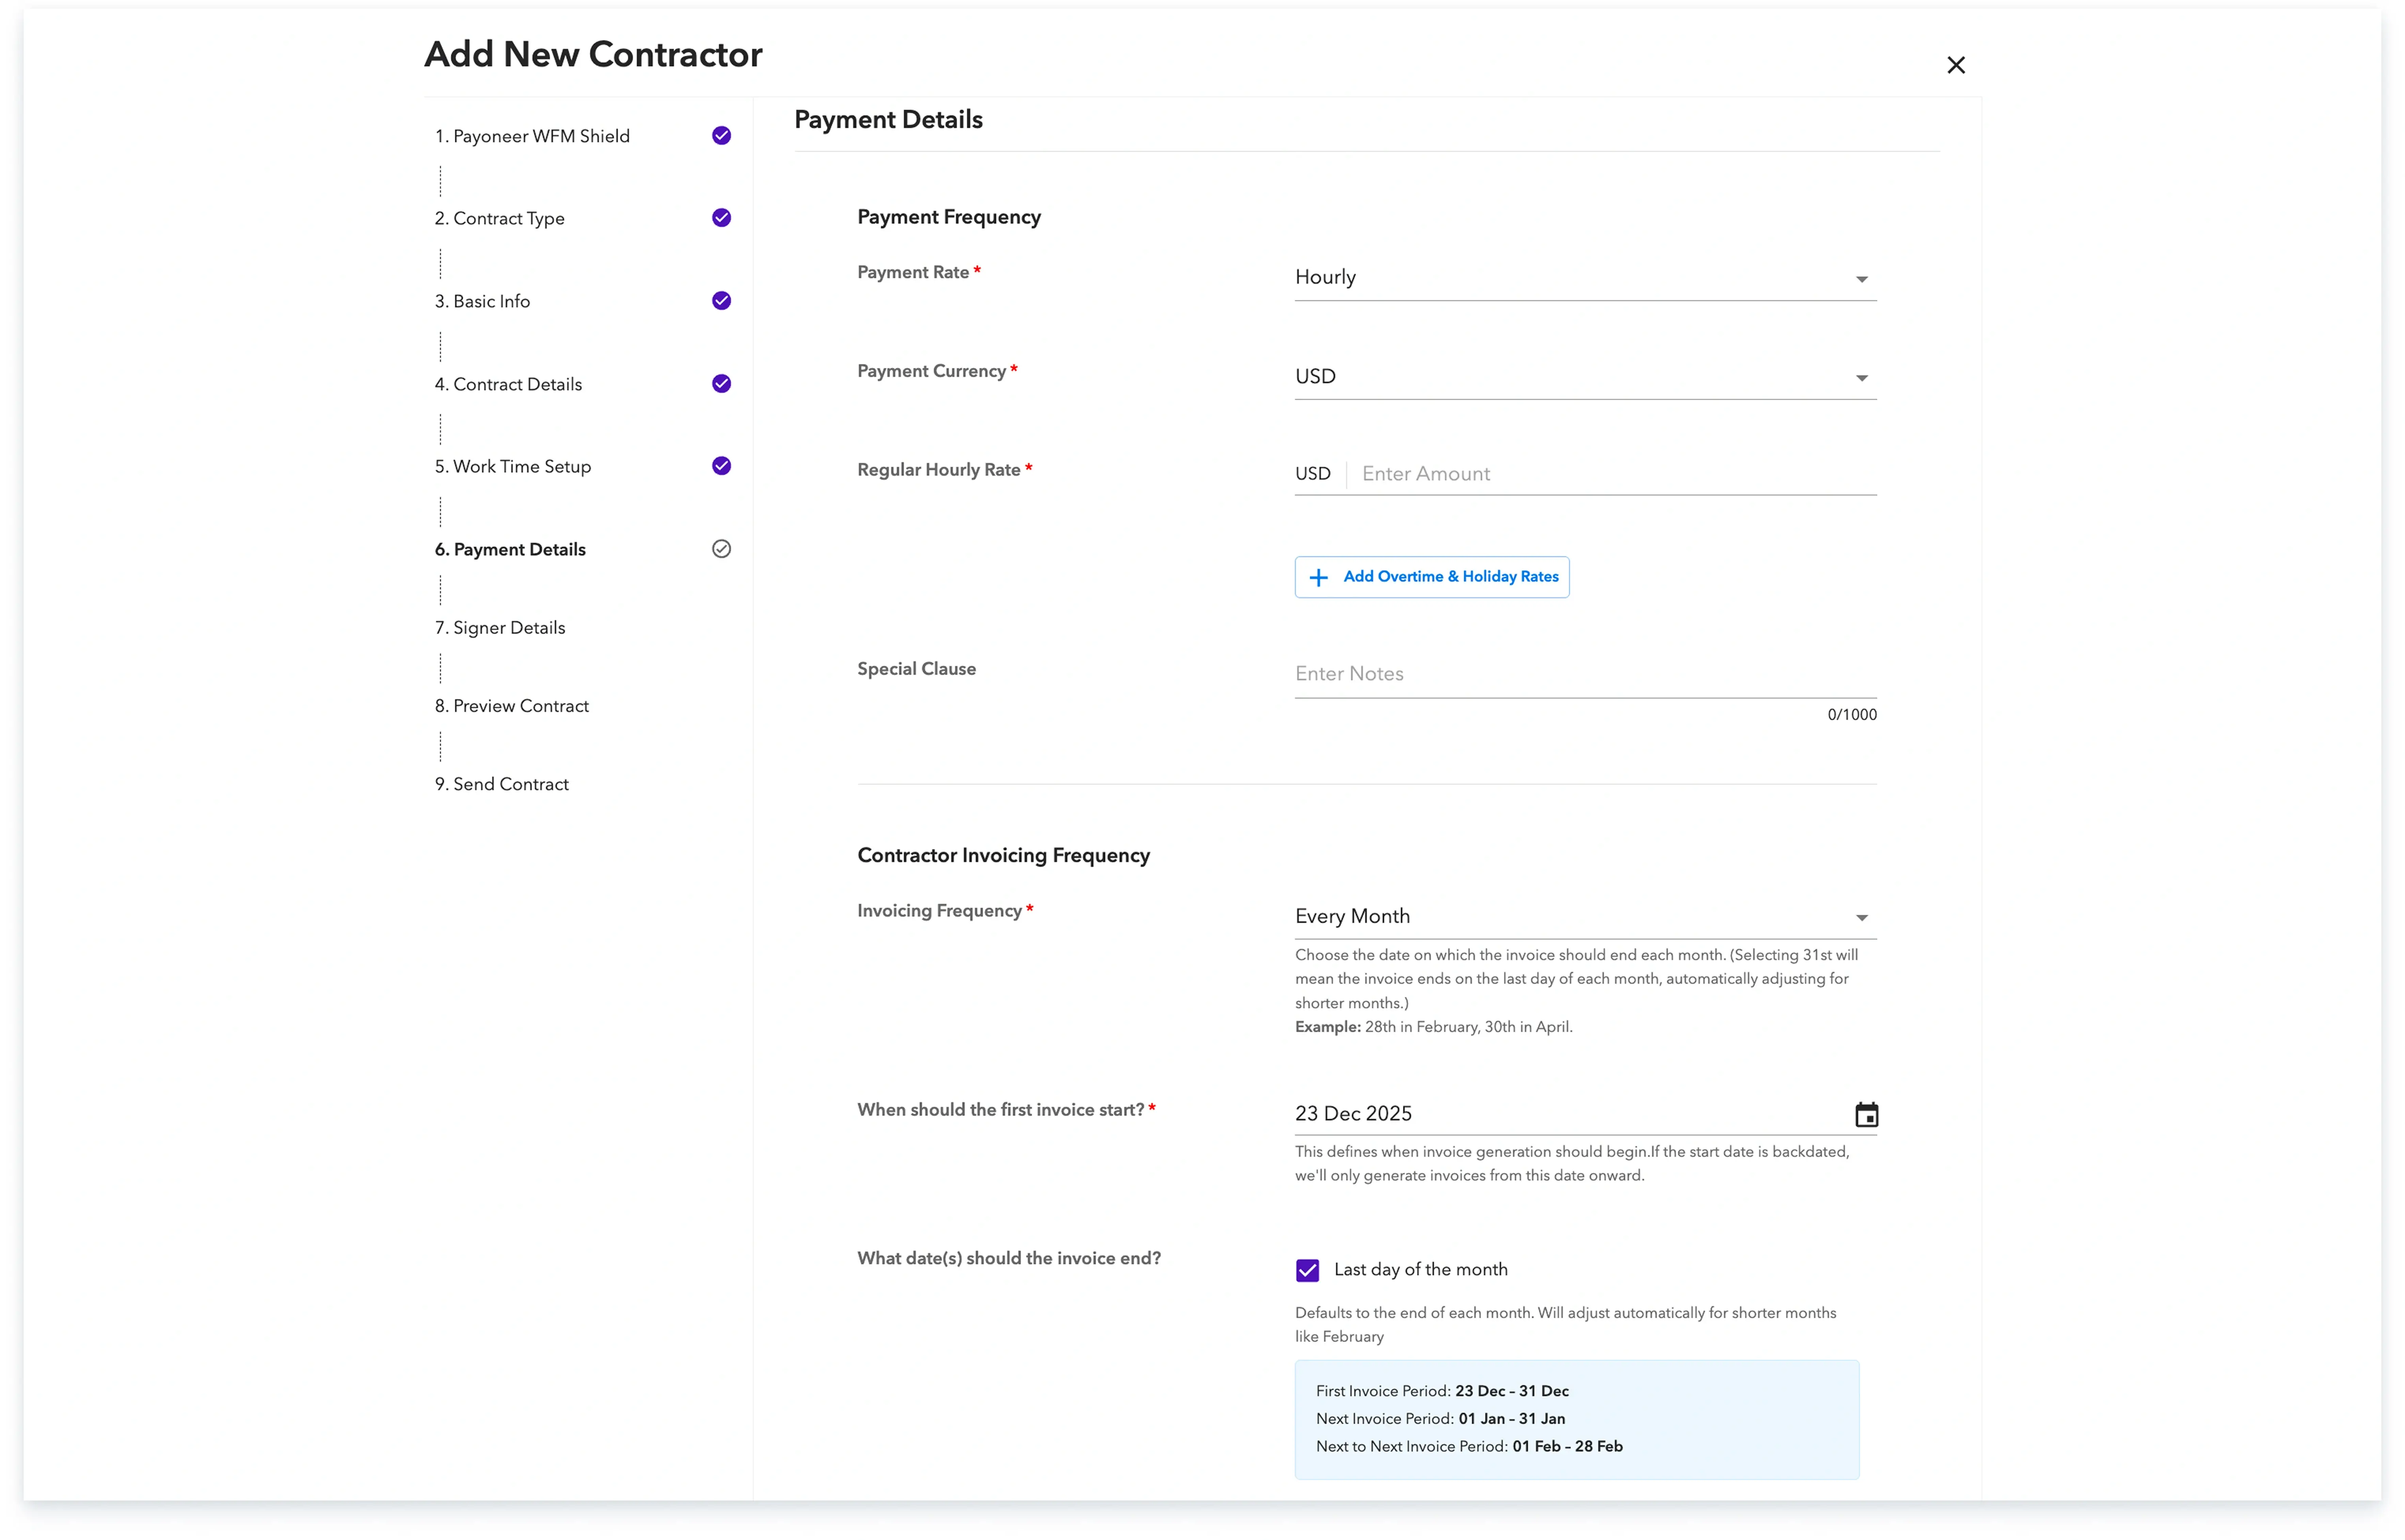
Step-8: Enter the payment details, which includes the rate, currency, invoicing frequency, and the start and end date for the first invoice.
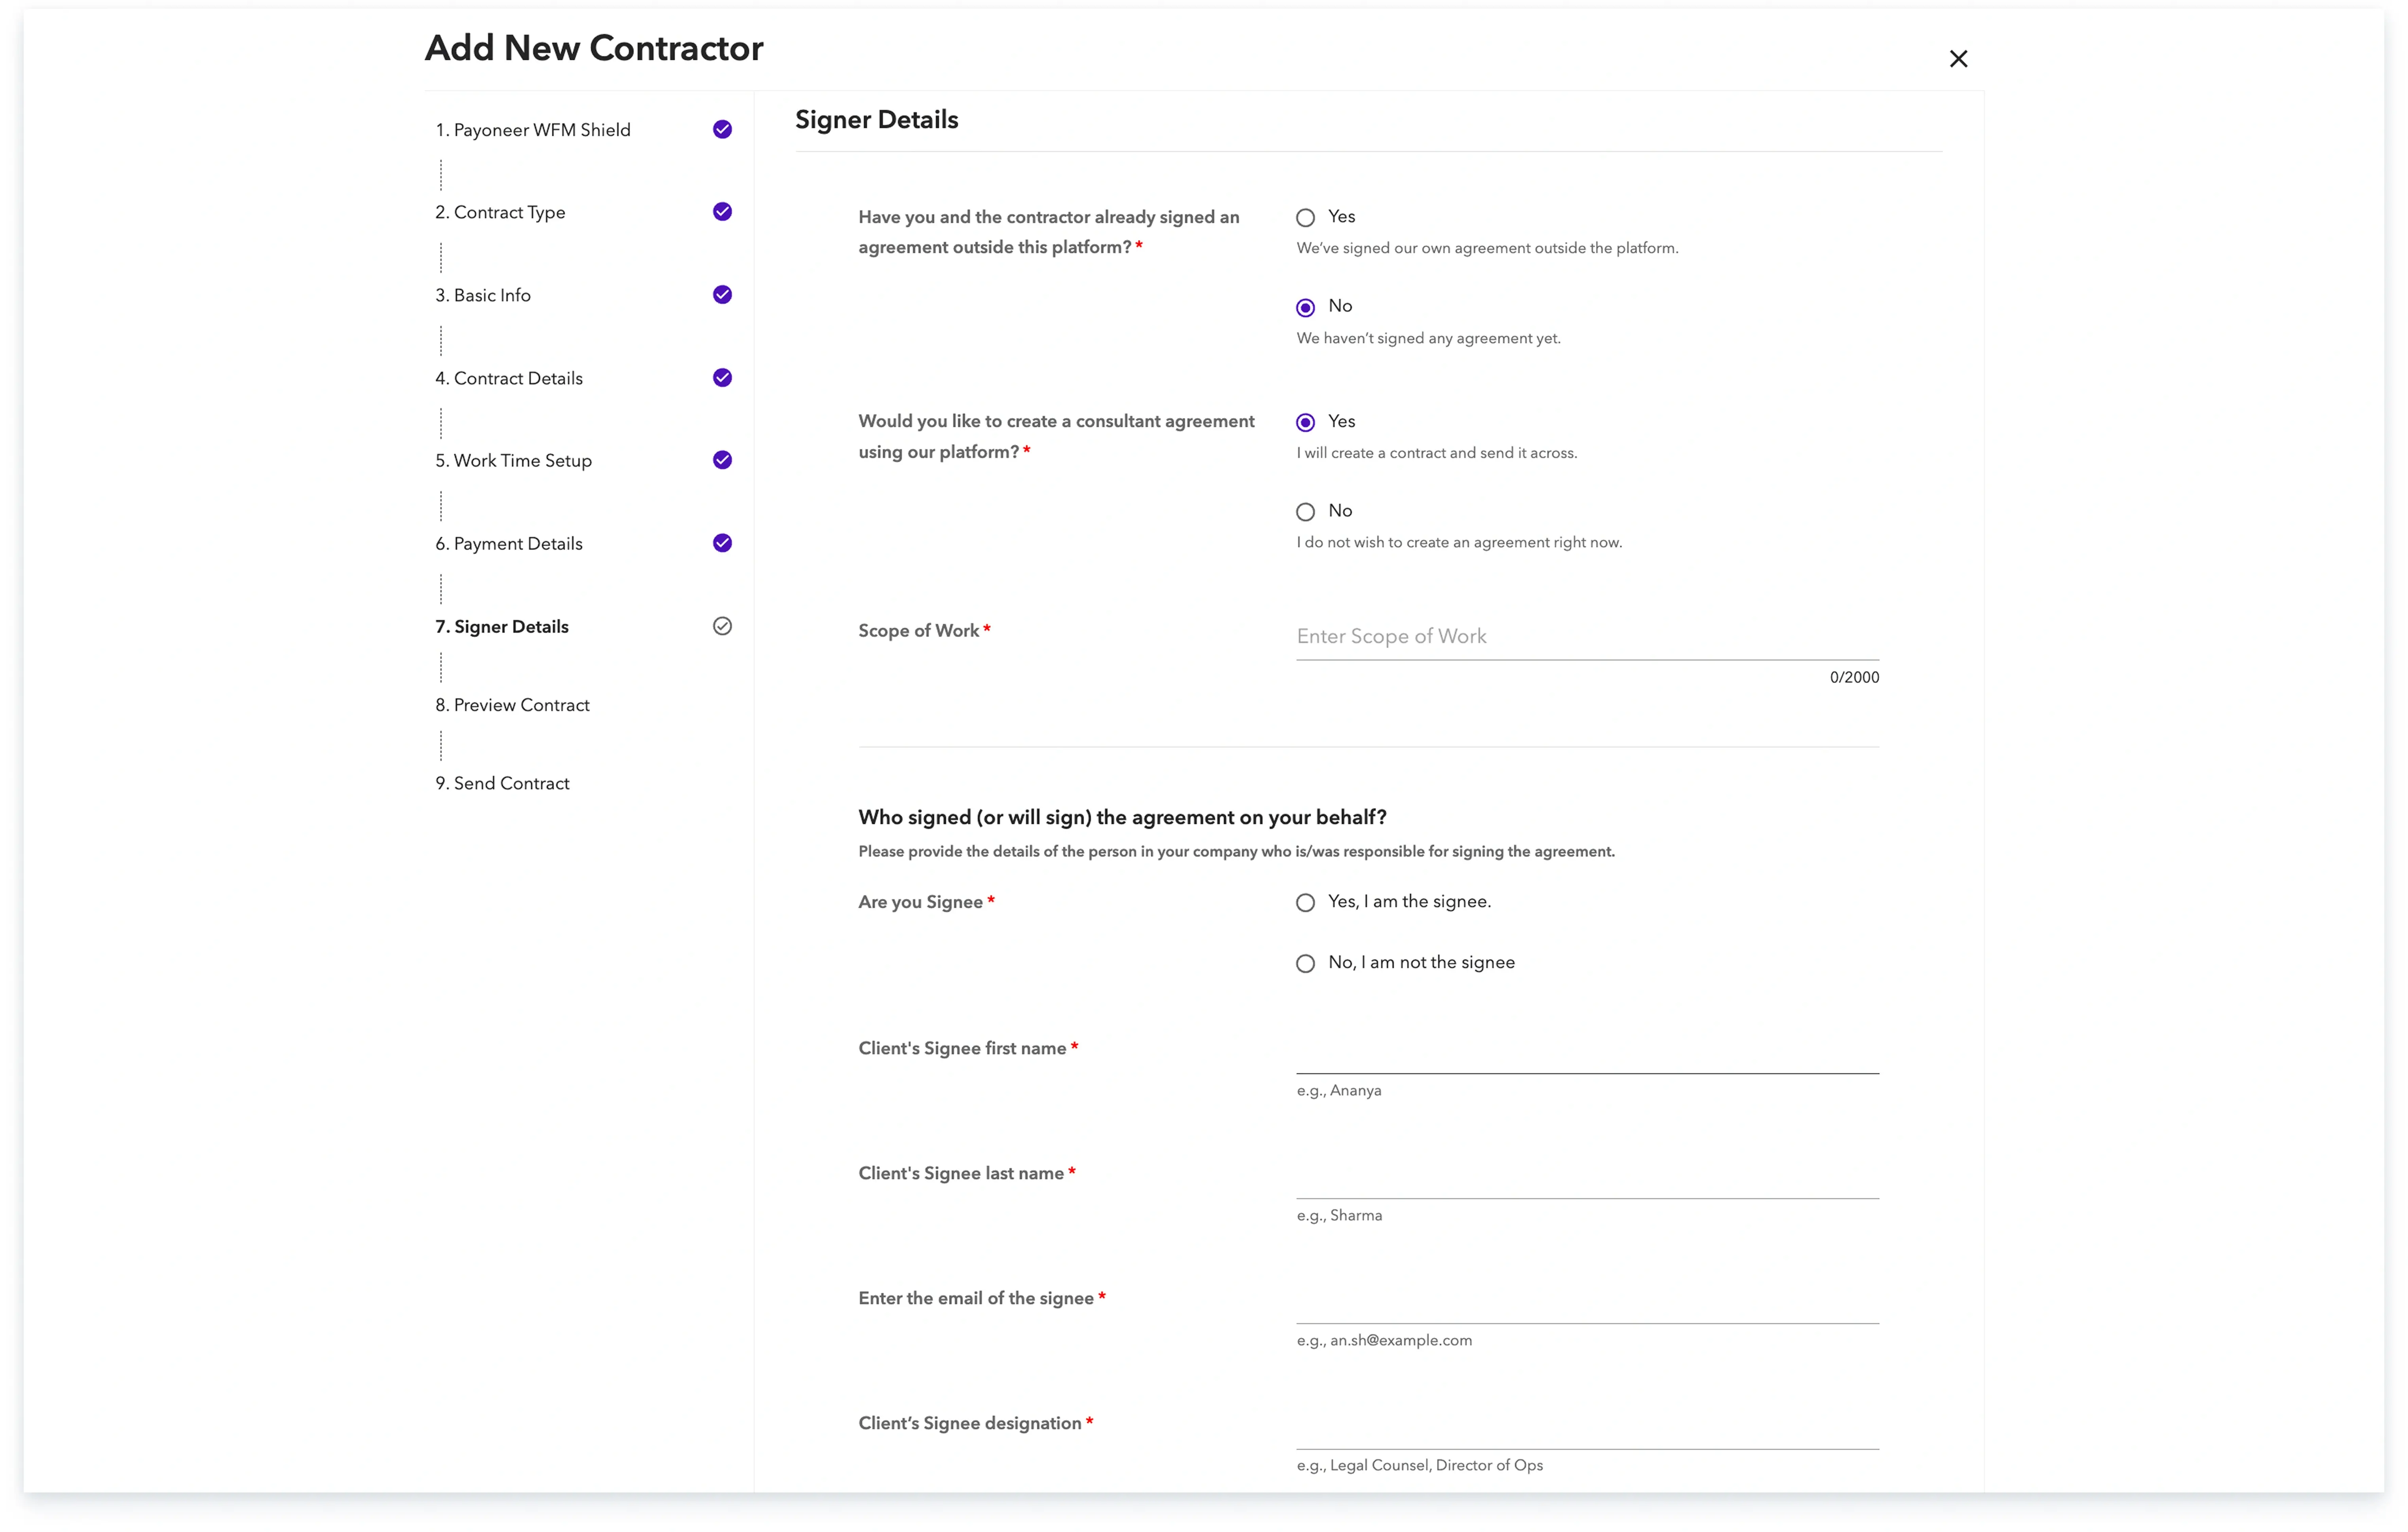
Step-9: If you've already signed the contract, you can upload it in the next step.
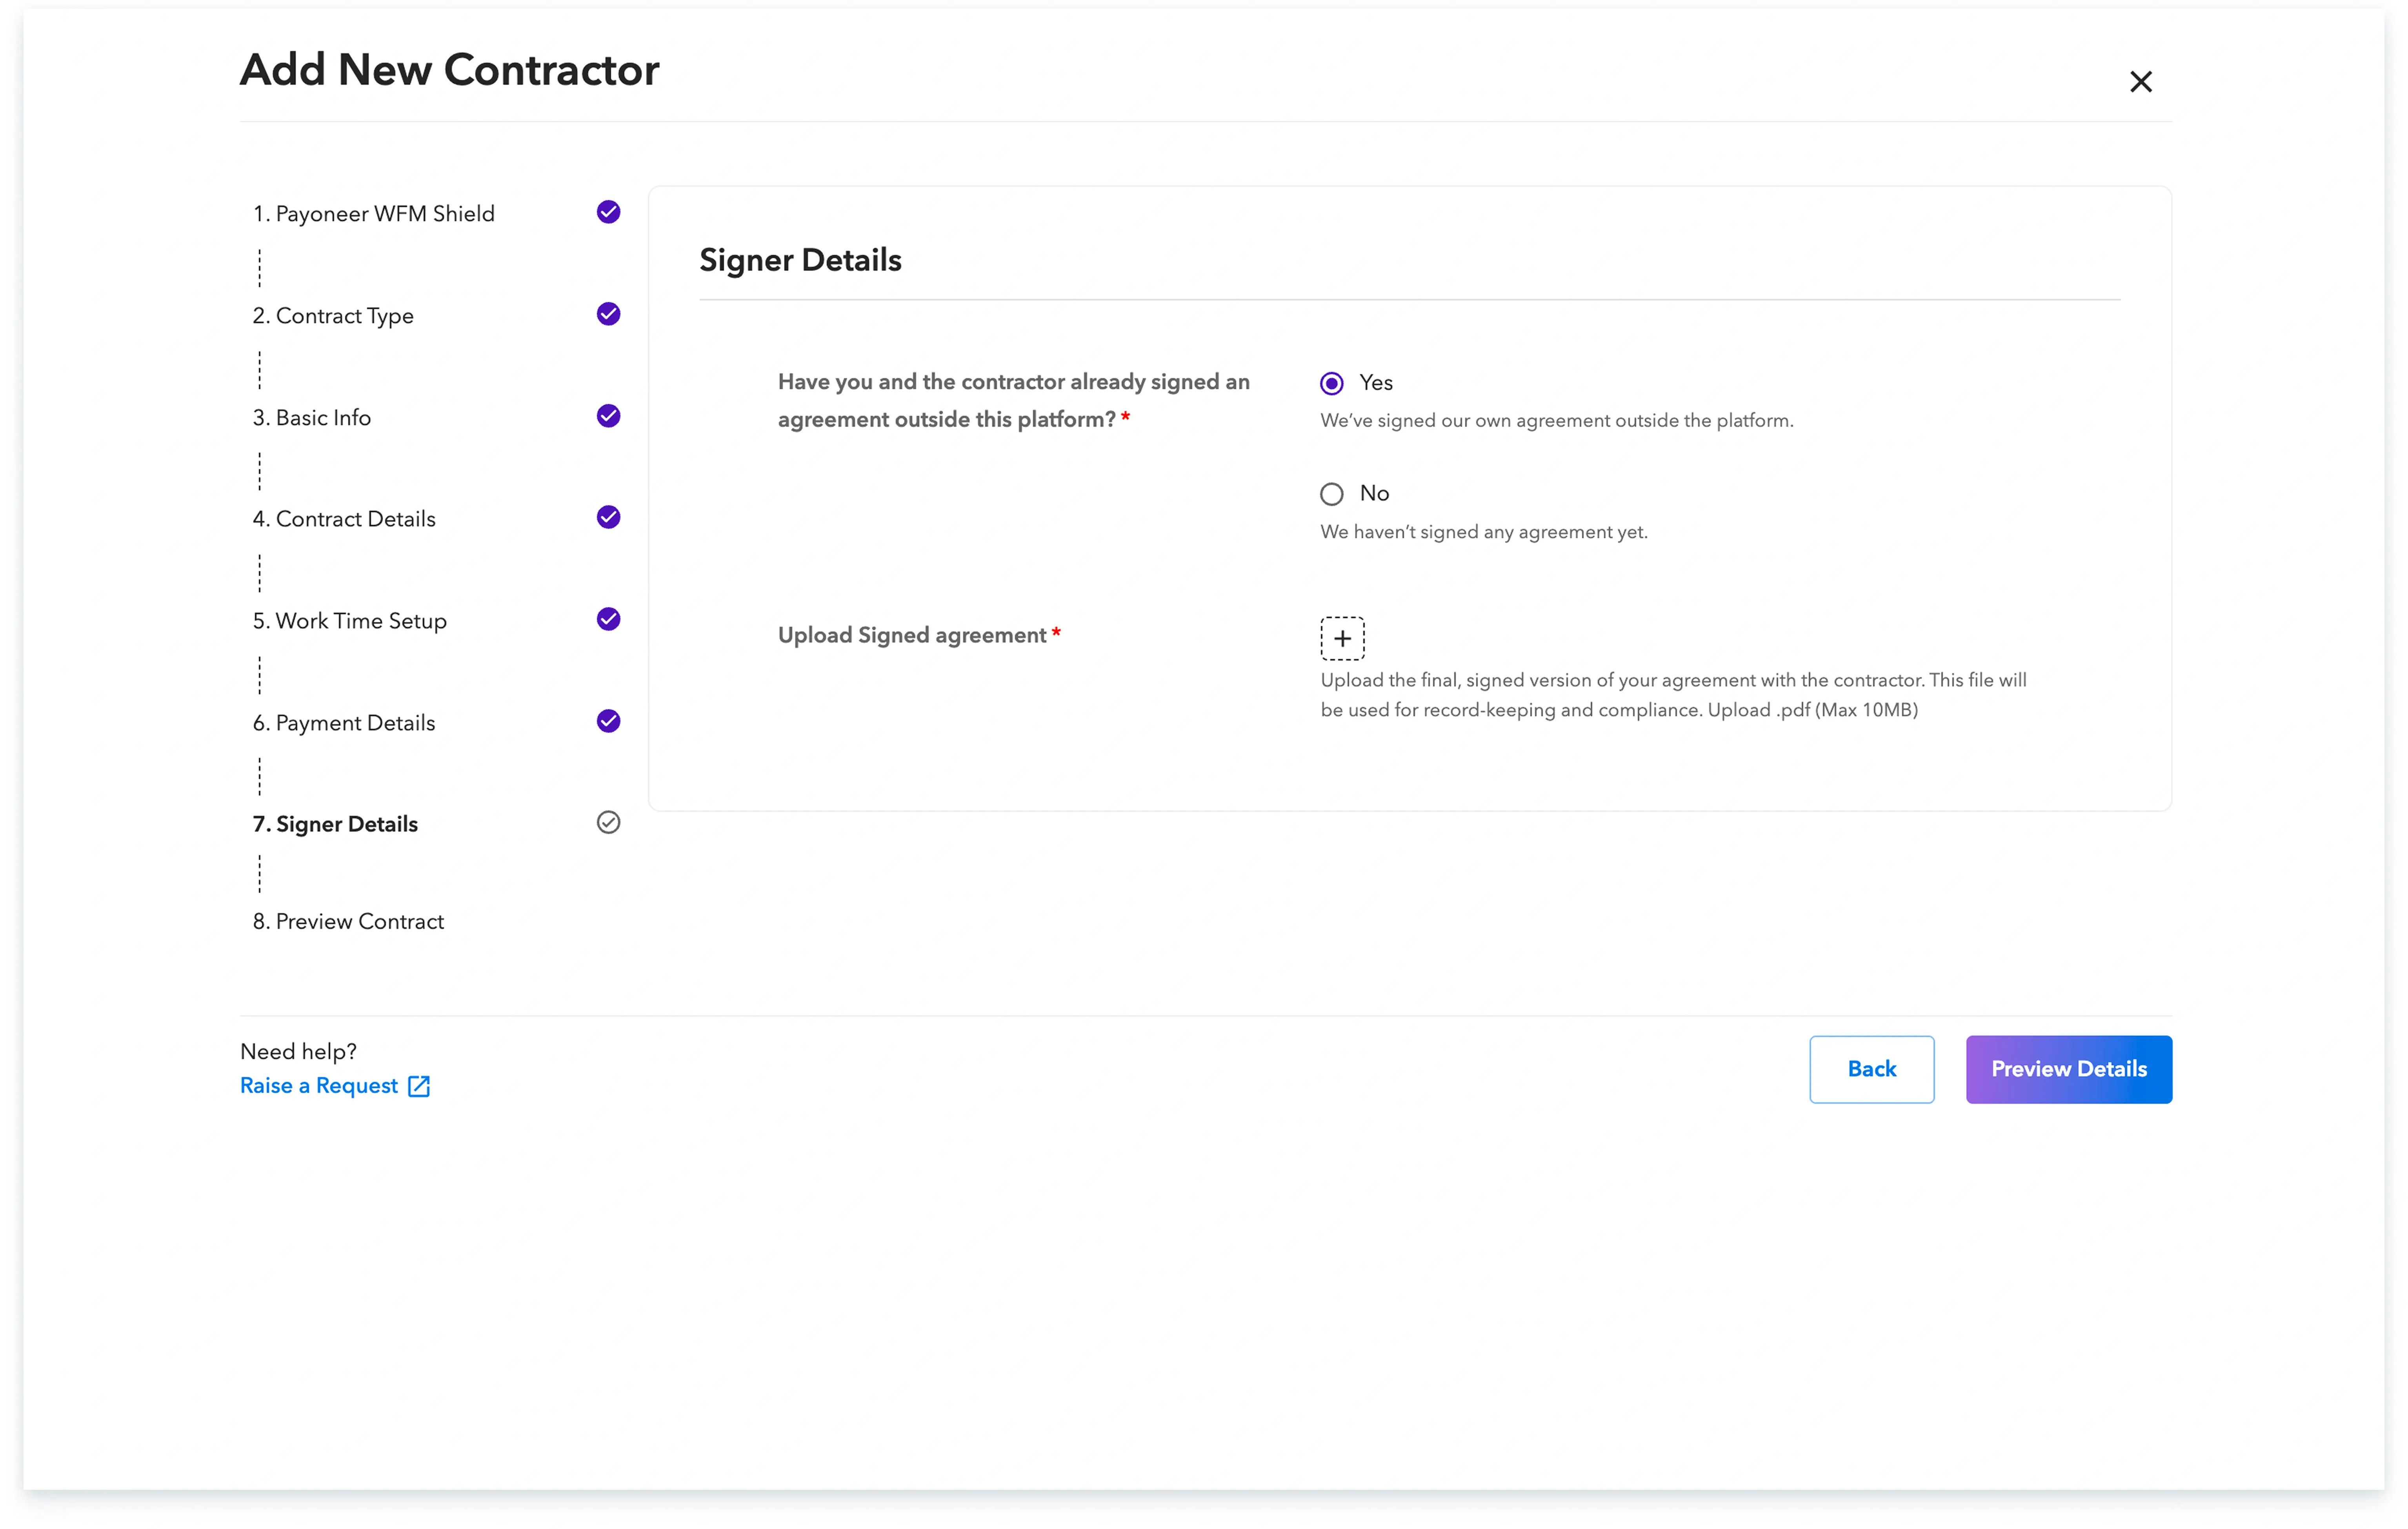
Step-10: If you have not yet signed the contract, Skuad offers the option to create your own contract by adding the required details to generate one in your name, or you can choose to proceed without signing a contract.
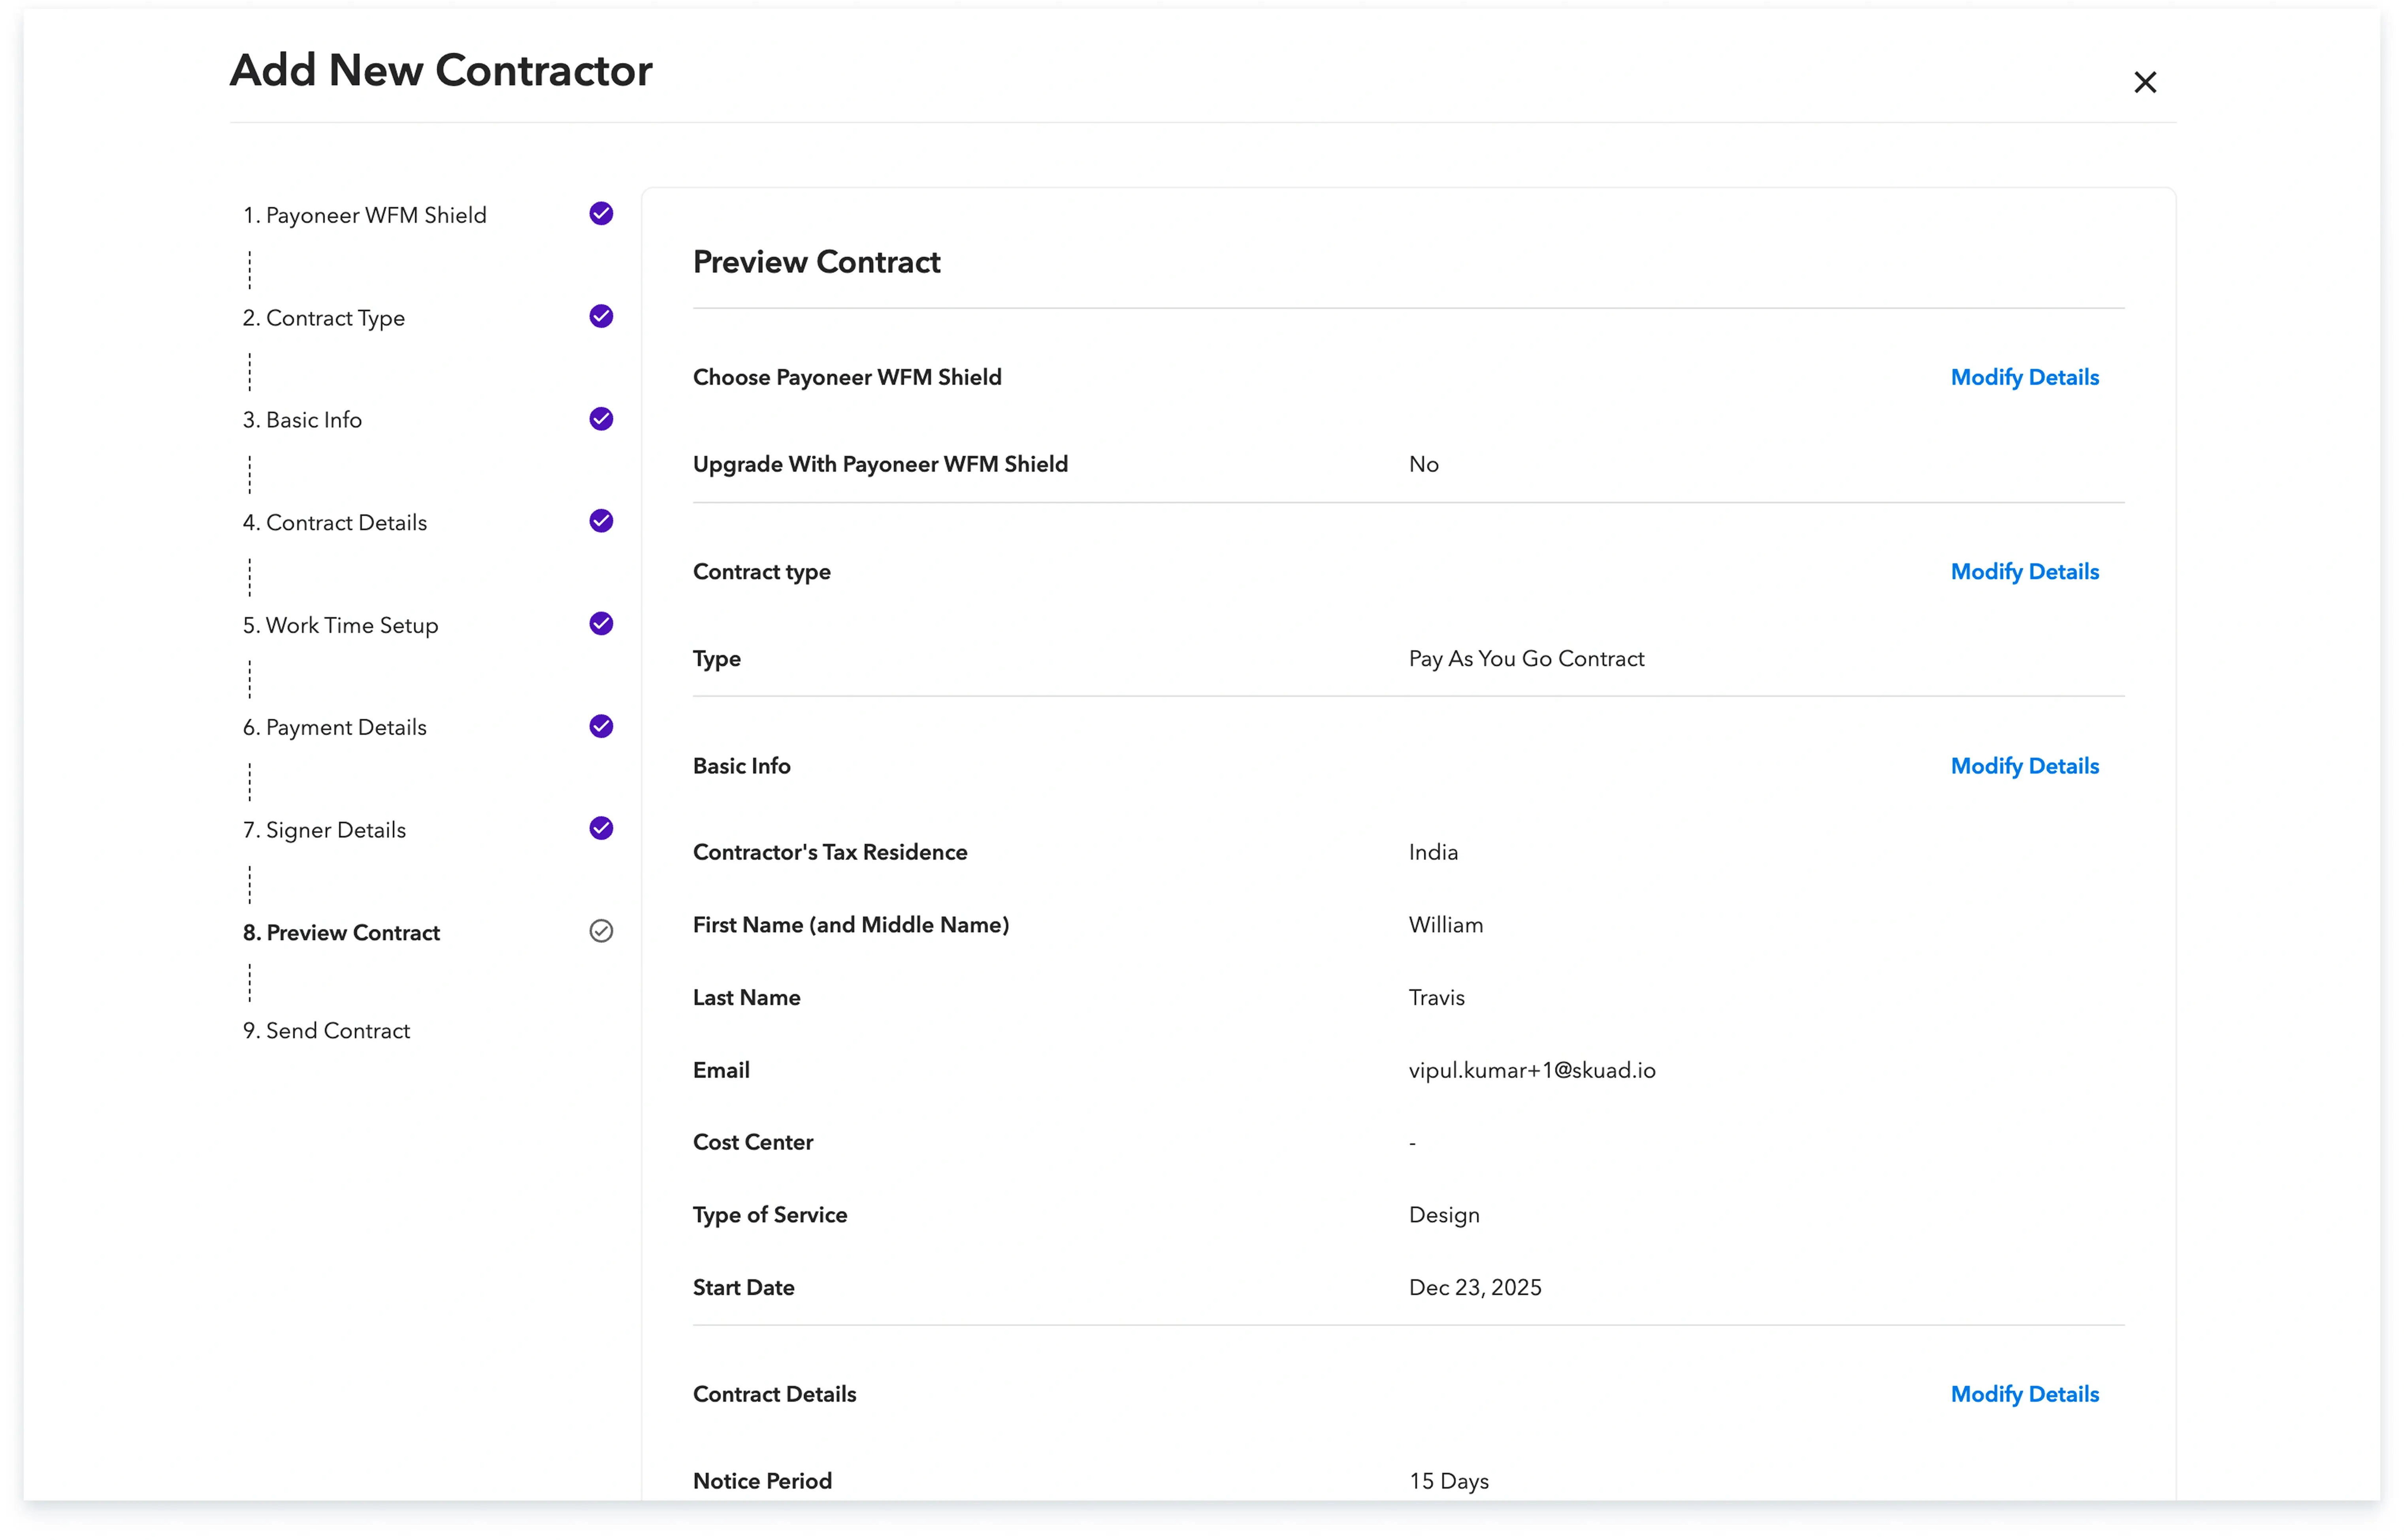
Step-11: Verify all the details you have provided using the preview option.
Step 13: Finalize the contractor addition by checking the confirmation box and clicking ‘Add Contractor’. Note that for ‘Pay Only’ arrangements, an agreement signing step is not required.
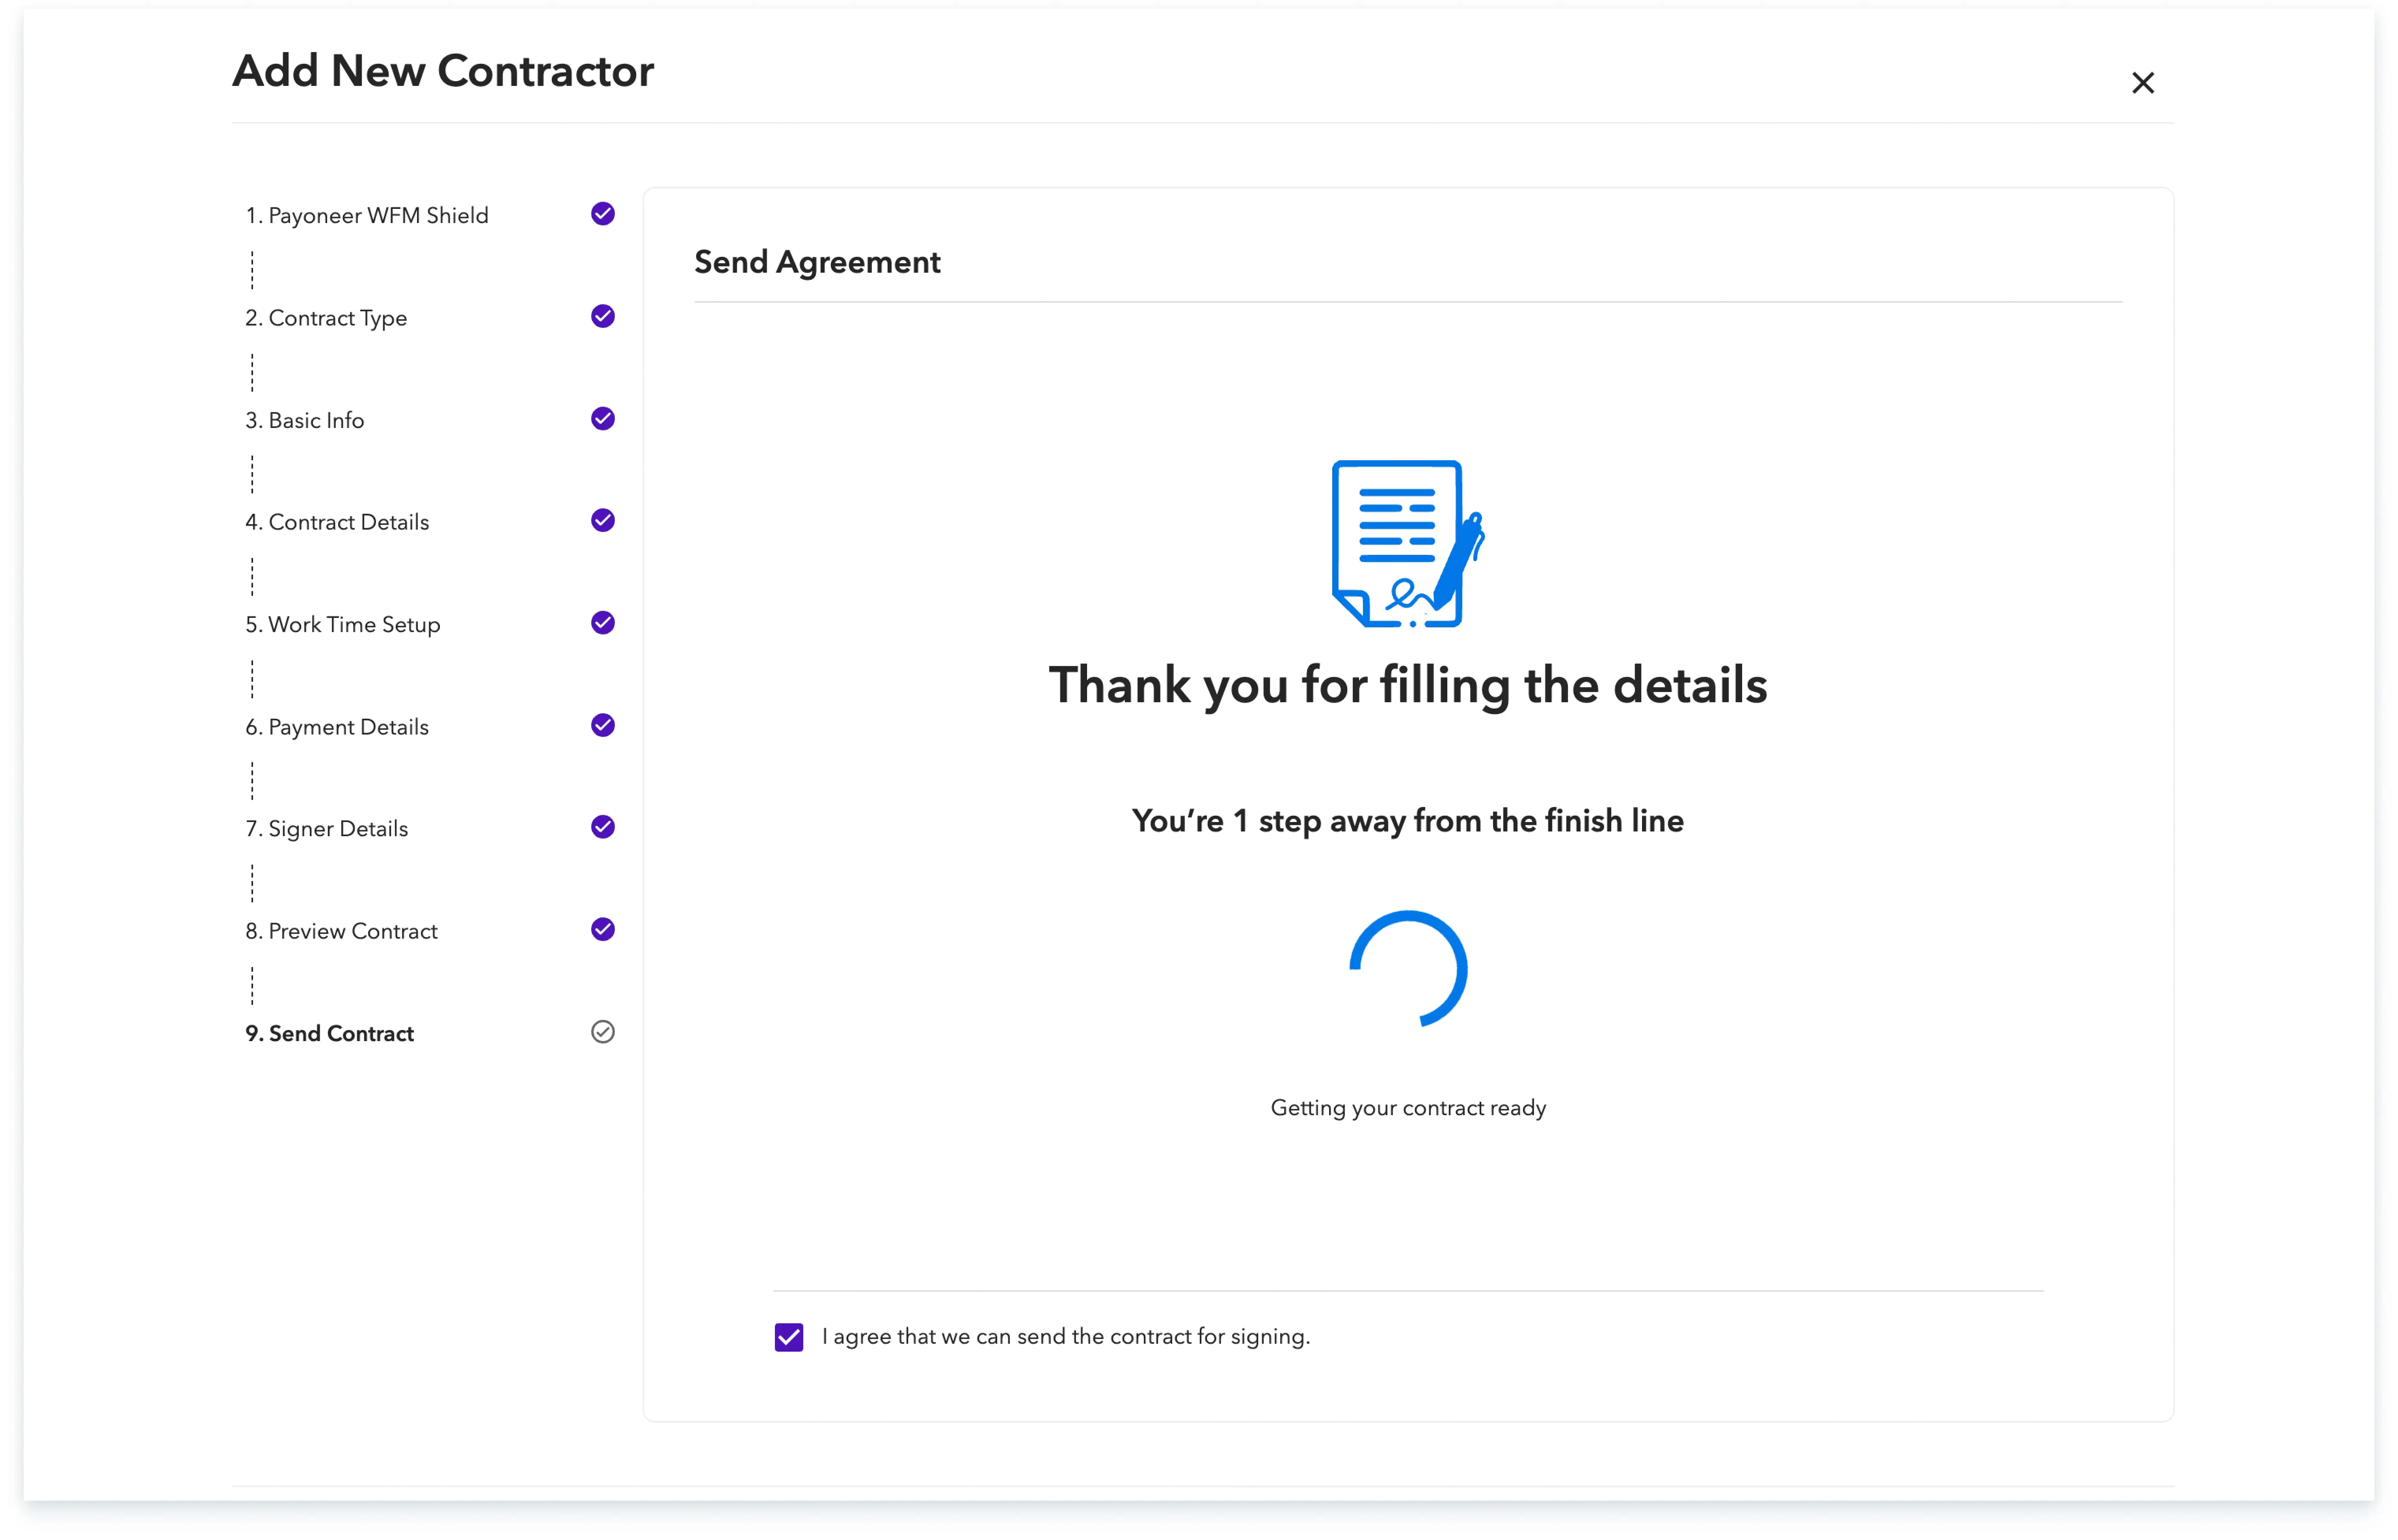
The system will then send the contract to the contractor for signing, along with a sign-up email from Payoneer WorkForce Management, and you can continue to track the progress of this onboarding from the ‘People’ section.

Global employment, payroll, teams and expansion, simplified.
Request demo